The 1979 Chevy C10 is a classic American pickup truck that exudes nostalgia and charm. The iconic design has been an inspiration for many car enthusiasts and customizers. In this article, we will talk about the 1979 Chevy C10 Car Audio Install, a custom audio installation that breathed new life into this classic ride. The project was executed by a team of audio experts who used the latest sound technologies to enhance the audio experience. Let’s dive in and explore the details of this exciting project.
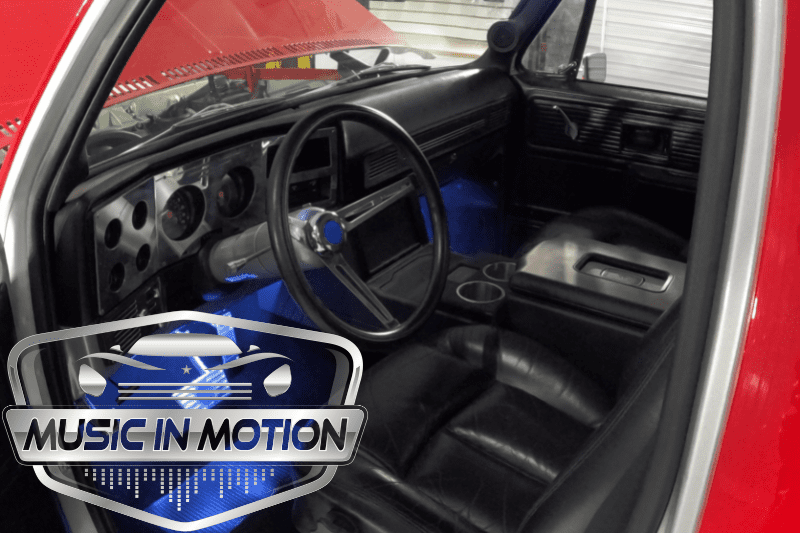
The 1979 Chevy C10 is a classic American pickup truck that has been a source of inspiration for car enthusiasts and customizers for decades. The team behind the 1979 Chevy C10 Car Audio Install was no exception. They were drawn to the iconic design of the truck and saw an opportunity to create something truly special.
The inspiration behind the 1979 Chevy C10 Car Audio Install was to combine the nostalgia of the 70s with the latest sound technologies to create a unique audio experience. The team of audio experts wanted to enhance the audio experience while maintaining the original look and feel of the truck. They believed the 1979 Chevy C10 was the perfect canvas for their audio installation project.
The team spent countless hours researching and designing the perfect sound system for the truck. They considered the acoustics of the truck and the desired audio experience to create a design that would meet their expectations. They also paid close attention to the style and aesthetic of the truck to create a seamless integration of the sound system.
In short, the inspiration behind the 1979 Chevy C10 Car Audio Install was a desire to create something unique and powerful that would pay homage to the classic design of the truck while using the latest sound technologies. The audio experts succeeded in this endeavor and created a sound system that truly elevates the driving experience of this iconic truck.
The Planning Stage of the 1979 Chevy C10 Car Audio Install was a critical part of the project. The audio experts carefully considered the acoustics of the truck and the desired audio experience to design the perfect sound system.
The first step in the Planning Stage was to analyze the frequency response, sound pressure level, and other technical aspects of the truck. This allowed the team to identify the strengths and weaknesses of the acoustics and design a sound system that would maximize the truck’s potential.
Next, the team considered the style and aesthetic of the truck to create a seamless integration of the sound system. They selected high-end speakers, amplifiers, and subwoofers that would provide a powerful and clear sound while maintaining the classic look of the truck.
The team also considered the space constraints of the truck and the durability of the components. They wanted to ensure the sound system would work flawlessly and stand the test of time.
Once the initial design was completed, the team fine-tuned the sound system to create the perfect balance between bass, treble, and mid-range frequencies. They also added custom lighting to enhance the aesthetic appeal of the sound system.
In conclusion, the Planning Stage of the 1979 Chevy C10 Car Audio Install was a critical part of the project. The team of audio experts carefully analyzed the acoustics of the truck and the desired audio experience to design a sound system that would maximize the truck’s potential while maintaining its classic look and feel. The result was a powerful and seamless integration of the sound system that truly elevated the driving experience of this iconic truck.
The Installation Process of the 1979 Chevy C10 Car Audio Install was a complex and time-consuming project that involved bringing the sound system to life. The audio experts had to carefully install the speakers, amplifiers, and other components to create the perfect sound environment.
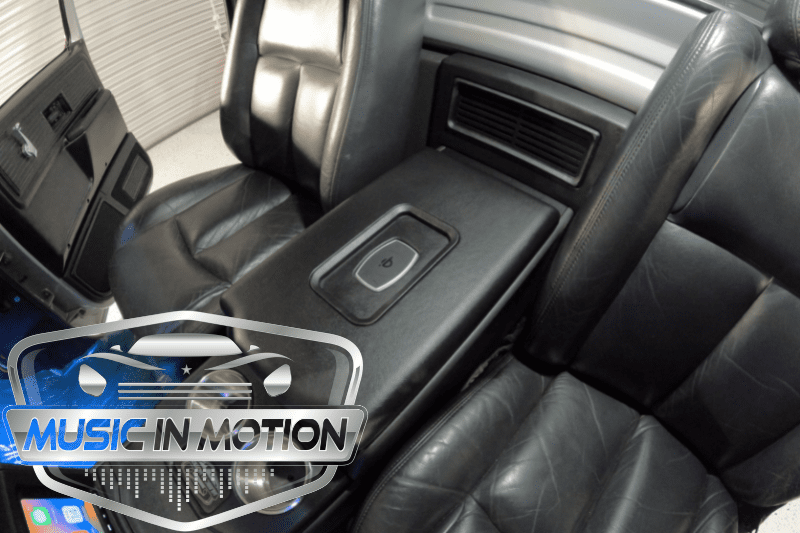
The first step in the Installation Process was to remove the existing sound system and prepare the truck for the new installation. The team then carefully installed the new speakers, amplifiers, and subwoofers in the optimal locations to create the desired sound environment.
The team also used sound insulation and dampening materials to reduce noise and vibrations in the truck. This ensured the sound system would work flawlessly and provide a smooth and enjoyable audio experience for the driver and passengers.
The installation was done with precision and care to ensure that the sound system would seamlessly integrate with the classic look of the truck. The team also had to consider the space constraints of the truck and the durability of the components to ensure that the sound system would stand the test of time.
Once the sound system was installed, the team fine-tuned the audio settings to create the perfect balance between bass, treble, and mid-range frequencies. They also added custom lighting to enhance the aesthetic appeal of the sound system.
In conclusion, the Installation Process of the 1979 Chevy C10 Car Audio Install was a complex and time-consuming project that involved bringing the sound system to life. The audio experts carefully installed the components, used sound insulation and dampening materials, and fine-tuned the audio settings to create a powerful and seamless integration of the sound system that truly elevated the driving experience of this iconic truck.
The 1979 Chevy C10 Car Audio Install used the latest car audio technologies to enhance the audio experience. The team of audio experts used high-end speakers, amplifiers, and subwoofers to create a powerful and clear sound.
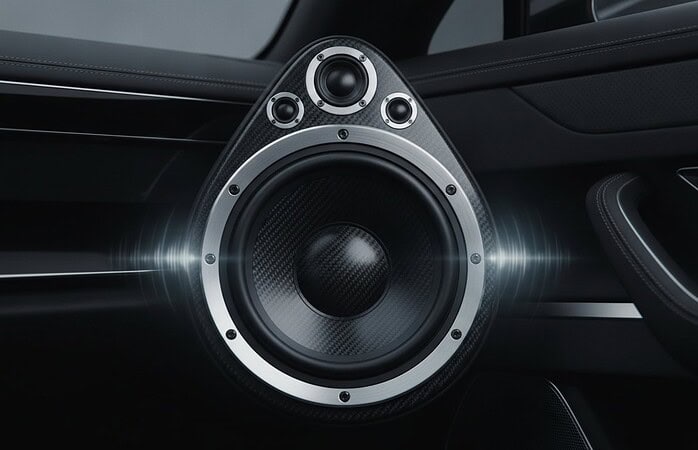
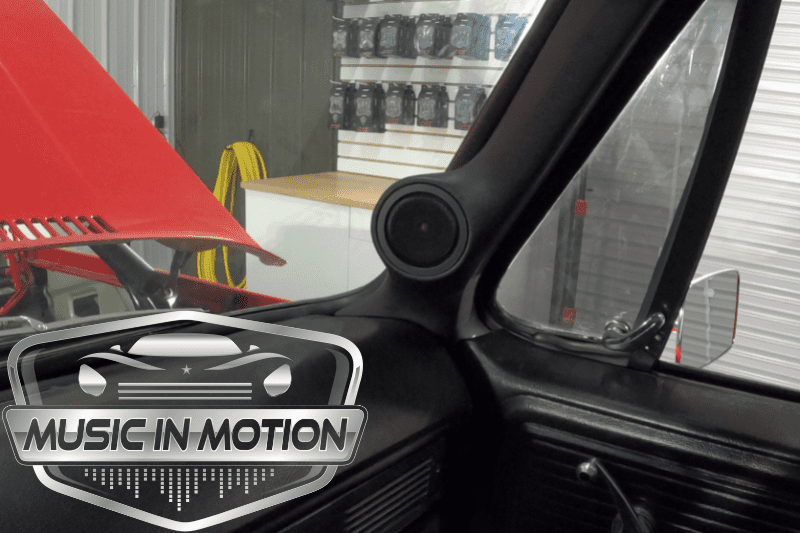
The speakers used in the installation were designed to provide a high-quality listening experience. They were carefully selected based on their frequency response and sound pressure level. The team also considered the size and style of the speakers to ensure seamless integration with the classic look of the truck. An Illusion Audio C3CX midrange/tweeter combination was installed in a custom-fabricated A-Pillar. The door was customized to house an Illusion Audio 8-inch mid-bass driver.
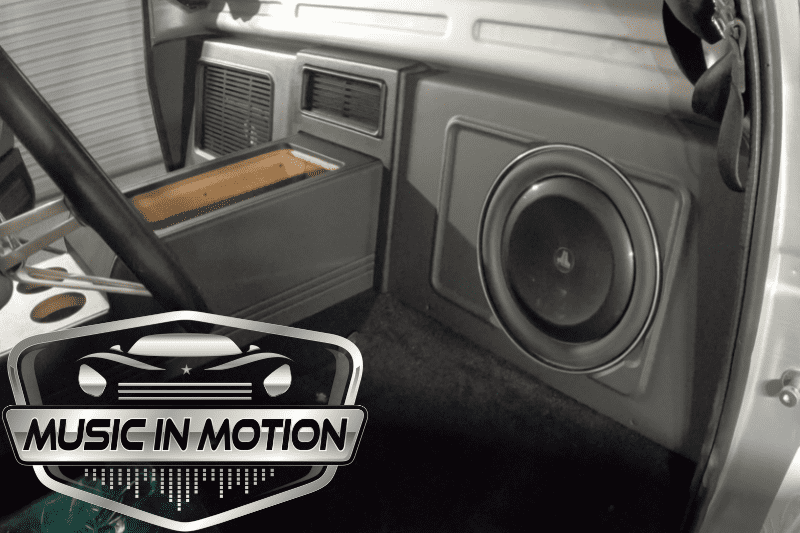
The subwoofer used in the installation was also carefully selected based on the size and style of the subwoofers. The result is that it would integrate seamlessly with the classic look of the truck. The JL Audio 13TW5v2-2 shallow mount was leveraged here and performs flawlessly.
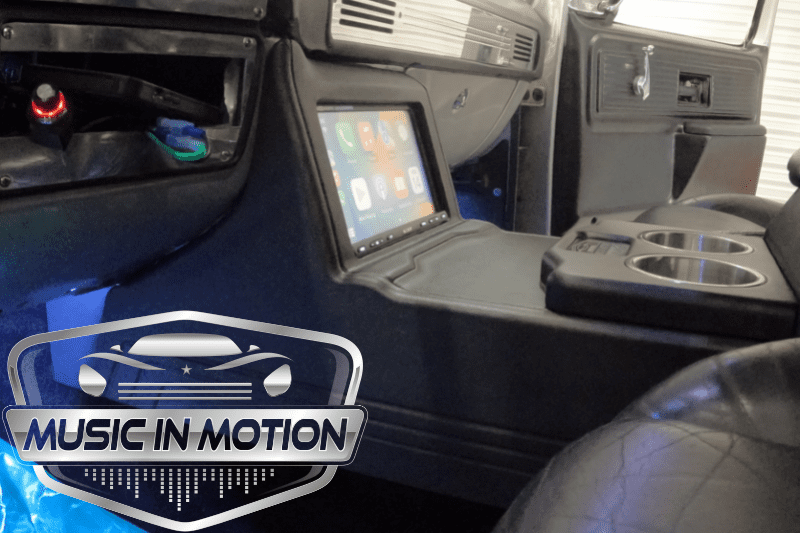
The Arc Audio PS8 DSP was used to fine-tune the audio settings and create the perfect balance between bass, treble, and mid-range frequencies. This digital signal processor allowed the team to control and adjust the audio settings with precision, resulting in a flawless listening experience.
In addition to the speakers, amplifiers, and subwoofers, the team also used sound insulation and dampening materials to reduce noise and vibrations in the truck. This ensured the sound system would work flawlessly and provide a smooth and enjoyable audio experience for the driver and passengers.
In conclusion, the 1979 Chevy C10 Car Audio Install used high-end speakers, amplifiers, a digital sound processor (DSP), and subwoofers, as well as sound insulation and dampening materials, to create a powerful and clear sound. The audio experts carefully selected and installed the components to create a seamless integration with the classic look of the truck. The result was a sound system that truly elevated the driving experience of this iconic truck.
The Final Touches of the 1979 Chevy C10 Car Audio Install were all about tuning the sound system. The audio experts fine-tuned the settings to create the perfect balance between bass, treble, and mid-range frequencies. They also added custom lighting to enhance the aesthetic appeal of the sound system.
Once the sound system was installed and tested, the team began fine-tuning the audio settings. They carefully adjusted the equalizer, crossover, and gain settings to ensure the sound system provided the perfect listening experience. They also adjusted the balance and fade settings to ensure that the sound was distributed evenly throughout the truck.
The final result of the 1979 Chevy C10 Car Audio Install was a stunning sound system that blended seamlessly with the classic look of the truck. The audio experts carefully installed and fine-tuned the components to create a powerful and clear sound.

Can I install a similar audio system in my car?
A: You can install a similar audio system in your car. However, it’s important to work with an experienced audio installer who can help you design and install a system that meets your specific needs and budget. You should also consider the acoustics of your car and the style of the vehicle to ensure seamless integration of the sound system.
What sound technologies were used in the 1979 Chevy C10 Car Audio Install?
A: The 1979 Chevy C10 Car Audio Install used high-end speakers, amplifiers, and subwoofers to create a powerful and clear sound. The audio experts also used sound insulation and dampening materials to reduce noise and vibrations in the truck. They also fine-tuned the audio settings to create the perfect balance between bass, treble, and mid-range frequencies.
How long did the installation process take?
A: The installation process of the 1979 Chevy C10 Car Audio Install was complex and time-consuming. It took several days to install the speakers, amplifiers, and other components, fine-tune the audio settings, and add custom lighting.

The 1979 Chevy C10 Car Audio Install is a testament to the creativity and skill of the audio experts who executed it. They combined the classic design of the Chevy C10 with the latest sound technologies to create a unique and powerful audio experience. Elite Restomods is a premier custom car builder and restoration shop specializing in classic cars like the 1979 Chevy C10.
If you want to upgrade your car audio system or take on a custom project, contact Elite Restomods today. Our experienced professionals will work with you to design and execute a project that exceeds your expectations. Let us help you bring your dream car to life.