A sturdy motorized amp rack starts with a secure mounting plan and room for airflow. For a vehicle setup, use a board about 1/2 inch thick, at least four metal mounting straps, and allow 2 inches of space beside the amplifiers if the installation area permits.
It’s easy to focus on the finished look, but a motorized amp rack must also fit the vehicle, support the equipment, and keep wiring organized. This guide covers practical motorized amp rack ideas, from choosing materials and assembling the platform to planning its movement and estimating build costs. Careful measuring, ventilation, and a clean finish help make the rack feel purpose-built, not simply a place to hold gear.
Key Takeaways
- Plan the rack around the vehicle’s available space, amplifier layout, airflow, and a secure mounting point.
- Build a realistic materials estimate by separating the rack’s construction supplies from tools and optional finishing touches.
- Understand how a sliding rack’s movement depends on the support structure, motor, and travel path working together.
- Compare motor, actuator, and lift options by how the rack needs to move and the equipment it must support.
Assembling and mounting the rack
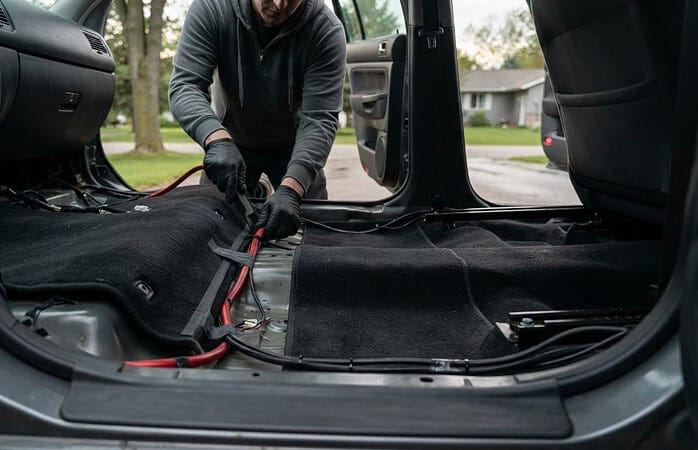
Plan the rack’s movement, support, wiring, and airflow before fixing it in place. Assemble the structure around the equipment, leaving room for its full travel path.
Compare Rack Movement Options
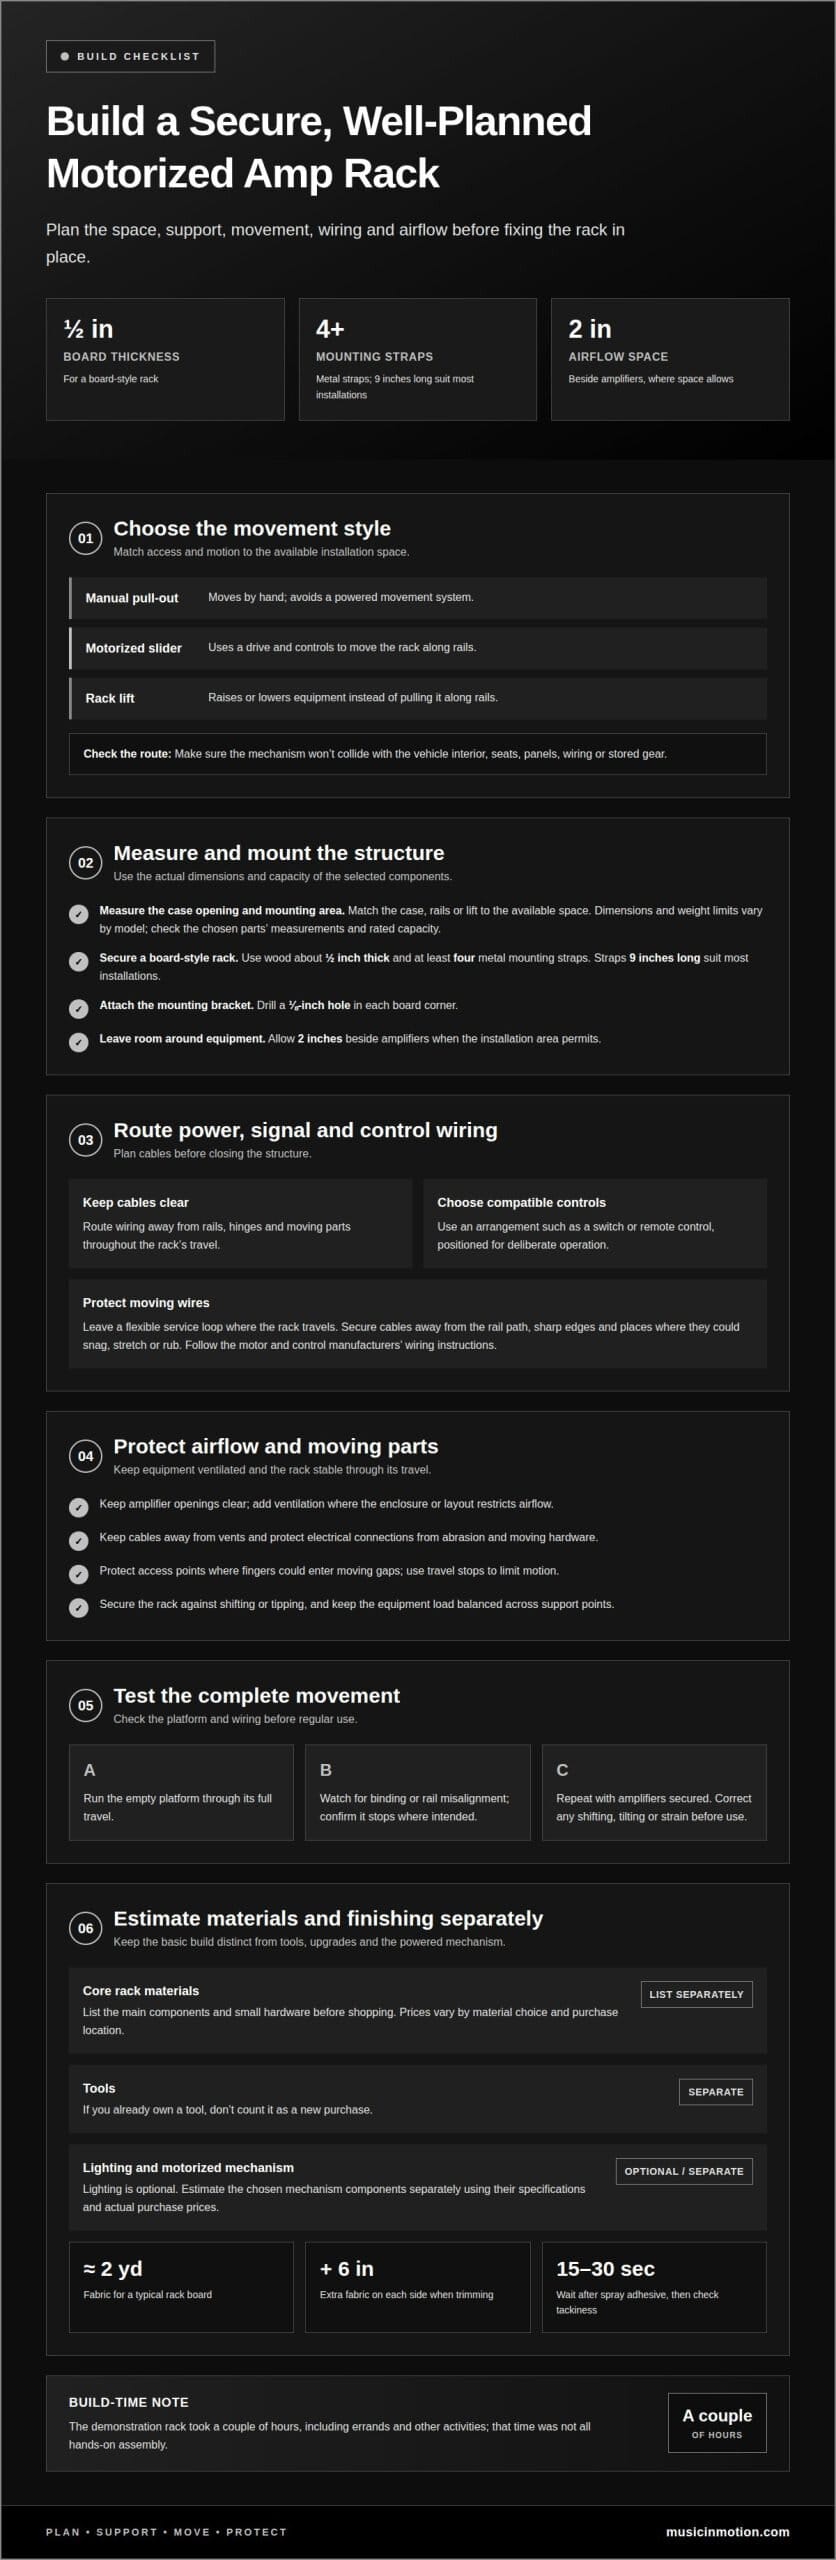
- Choose the movement style that suits the installation. A manual pull-out rack uses hand force and avoids a powered movement system, while a motorized slider moves the rack with a drive and controls. A rack lift raises or lowers equipment instead of pulling it along rails. Compare the access each option provides, and avoid a mechanism that collides with the vehicle interior.
Mount the Rack Structure
- Measure the case opening and mounting area, then match the case, rails, or lift to that space. Common case and rail dimensions and weight limits vary by model; use the actual measurements and rated capacity for the selected components. For a board-style rack, use wood about 1/2 inch thick. Car stereo metal mounting straps 9 inches long suit most installations, and the rack needs at least four straps. Attach the mounting bracket with a 1/8-inch drill hole in each board corner. Leave 2 inches beside amplifiers where space allows.
Plan Wiring, Power, and Controls
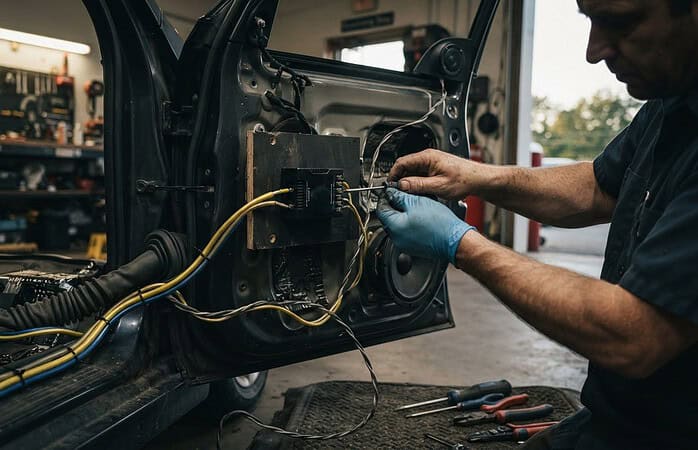
- Route power and signal wiring before closing the structure. Keep cables clear of rails, hinges, and other moving parts throughout the rack’s travel. Choose a control arrangement that matches the movement, such as a switch or remote control, and position it for deliberate operation. Follow the motor and control manufacturers’ wiring instructions; avoid loose connections and cables that can snag as the rack moves.
Add Cooling and Safety Features
- Keep amplifier openings clear and preserve airflow around the equipment. Add ventilation where the enclosure or equipment layout restricts air movement, and avoid placing cables across vents. Protect access points where fingers could enter moving gaps, and use travel stops to limit motion. Secure the rack against shifting or tipping, and keep electrical connections protected from abrasion and contact with moving hardware.
The author reports that the demonstration amp rack took a couple of hours to build, including time spent on errands and other activities. The duration includes time away from the project, not just hands-on assembly.
Estimated material costs
Estimate the rack materials first, then account separately for tools and optional upgrades.
- List the core materials. These line items identify the main rack components, but prices can vary by material choice and purchase location. Write down each item before shopping so small hardware needs don’t disappear from the plan.
- Separate tools from materials. If you already own either tool, don’t count it as a new purchase in your project budget.
- Decide whether to add lighting. Treat lighting as an optional addition, not part of the listed materials total. Include it only if the rack design benefits from illuminated equipment, and account for its wiring needs when planning the build.
- Budget for the motorized mechanism separately. Add each chosen mechanism component to a separate estimate, using the specifications and actual purchase prices for the selected parts. This keeps the basic board build distinct from the powered movement system.
- Allow for fabric and finishing waste. A typical rack board uses about 2 yards of fabric. Leave at least 6 inches extra on each side when trimming, then use spray adhesive and wait about 15-30 seconds before checking tackiness. These details help you estimate usable material and avoid rushing the finish.
For a rack that needs to integrate cleanly with vehicle audio, custom installation planning can help align the design with the equipment and available space.
How do motorized sliding amplifier racks work?
A motorized sliding rack combines a supported equipment platform, a guided travel path, and powered movement. Plan each element around the rack’s load, direction of access, and available space. The most practical motorized amp rack ideas coordinate these elements before installation.
- Map the travel path. Identify where the rack rests and where it needs to move for access. A sliding design carries the amplifier platform along rails, rather than lifting it vertically. Check that the route stays clear of seats, panels, wiring, and stored gear throughout its movement.
- Support the moving platform. Mount the equipment to a rigid tray or frame that travels with the rack. Rails guide that platform and help resist sideways movement. Keep the load balanced across the support points; an amplifier positioned far to one side can place uneven pressure on the mechanism.
- Match the drive to the motion. A motor turns or drives a mechanism that moves the platform along its rails. The exact arrangement depends on the selected motor and hardware. Set the direction of travel to provide useful access, and avoid forcing the platform against a physical obstruction.
- Connect controls and moving cables. A switch or other compatible control tells the drive to extend or retract the rack. Route power, signal, and control wires so they can move with the platform without snagging, stretching, or rubbing on sharp edges. Leave a flexible service loop where the rack travels, and secure wiring away from the rail path.
- Test the complete movement. Run the empty platform through its full travel before installing equipment. Listen for binding, watch for rail misalignment, and confirm the platform stops where intended. Then test again with the amplifiers secured. If the rack shifts, tilts, or strains during movement, correct the support or alignment before regular use.
For a motorized amp rack to work reliably, the rails must guide the platform, the drive must move it, and the controls must manage its direction. A coordinated layout keeps amplifiers accessible and prevents cables or nearby components from obstructing the rack’s path.
What motors, actuators, and lift mechanisms are suitable for a motorized amp rack?
Choose a mechanism that suits the rack’s travel path and equipment load. A sliding tray, hinged panel, and vertical lift each require a different arrangement of supports and drive components.
- Define the movement first. For a tray that travels along rails, consider a motor and drive designed for controlled linear movement. A linear actuator can extend or retract a connected platform. For vertical access, a lift mechanism raises the rack instead. Avoid choosing hardware before deciding where the equipment must travel.
- Match the drive to the load. Include the rack, amplifiers, wiring, and attached hardware when assessing the moving load. Compare that total with the mechanism’s rated capacity, and account for how the load sits on the platform. An off-center amplifier can make movement uneven, even when the rack appears adequately supported.
- Check the travel and mounting geometry. A linear actuator needs a secure mounting point at each end and enough room to complete its stroke. A rail-driven motor needs a compatible drive connection and a clear path. For a lift, confirm the supporting structure stays aligned through its full range of motion.
- Choose compatible power and controls. Match the motor or actuator to its specified power supply and control method. A reversing control can direct extension and retraction when supported by the selected system. Keep moving wires clear of hinges, rails, and pinch points, and follow the component maker’s wiring instructions.
- Test movement before fitting equipment. Run the unloaded mechanism through its complete travel. Watch for binding, shifting, uneven movement, and contact with surrounding panels. Then secure the amplifiers and repeat the test, checking that the mechanism moves smoothly and stops at the intended positions.
For a custom rack integrated with vehicle audio, discuss a custom installation suited to the equipment and available space.
Music In Motion
Music In Motion plans vehicle audio systems and custom installations around your equipment, available space, and intended use. If a motorized rack is part of an audio upgrade, the installation plan should account for the rack’s movement as well as amplifier placement, wiring, and access. Coordinated design helps prevent conflicts between the moving platform and the vehicle interior.
Whether you’re considering a sliding rack for a car or adapting an audio setup for another vehicle, Music In Motion can create a practical custom installation. The right approach depends on your equipment, mounting location, and access needs. Contact Music In Motion to discuss your audio installation.
Turn Your Rack Plan Into a Finished Installation
Choose a setup that suits how you use your vehicle, not just how the equipment looks on paper. Motorized amp rack ideas become more practical when movement, mounting, and audio layout are planned as one system. This coordinated approach can also help guide future upgrades, so new equipment fits the space and remains accessible.
Music In Motion can shape your broader audio setup with Car Audio Upgrades, Custom Installations, and Marine Audio Systems. Whether you’re planning a vehicle project or a boat audio system, discussing your equipment and goals can help clarify the right approach. A moving rack may not suit every installation, so consider the access and space your setup actually requires.
Contact Music In Motion to discuss your project and take the next step toward an audio setup built around your needs.
Frequently Asked Questions
How much does it cost to build or buy a motorized amplifier rack?
The final build budget also depends on the drive, rails, controls, and extra materials you choose. A ready-made rack’s cost depends on its design and specifications. For a fair comparison, separate the rack structure from movement hardware and installation costs.
How do you build a motorized amp rack step by step?
Sketch the rack’s position and intended travel path inside the vehicle. Choose a platform and mechanism that fit the available space and equipment. Assemble the support structure and secure the amplifiers, then connect the drive and controls according to their instructions. Keep cables clear of moving parts. Before regular use, test the rack through its full range of movement and watch for snags or interference.