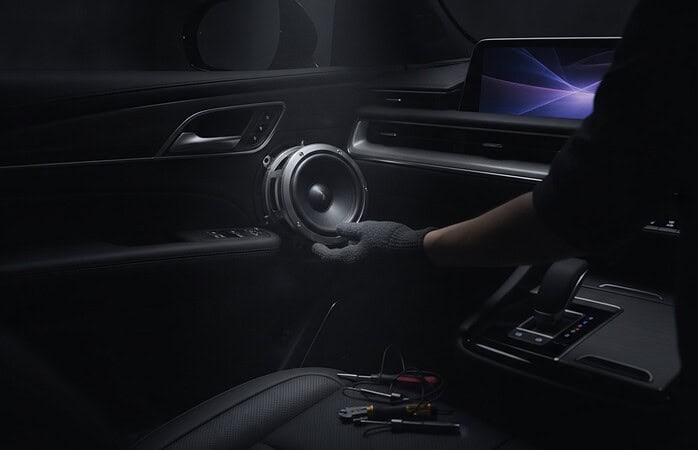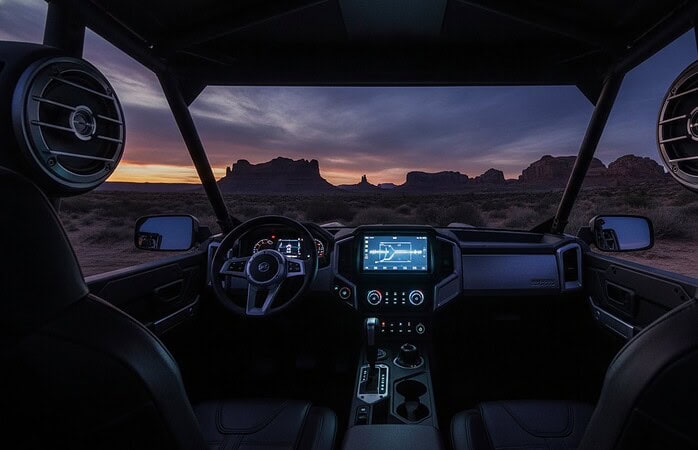
Why settle for a sound system that disappears the moment you pin the throttle? We know the feeling of hitting 60 MPH only to have your favorite track completely drowned out by the roar of the engine and the whistle of the wind. It’s even more frustrating when “trail-ready” gear fails after its first encounter with deep mud or leaves you stranded with a drained battery. You didn’t invest in a world-class UTV to deal with cluttered wiring or speakers that crackle under pressure.
A professional Can-Am Maverick X3 sound system install is about more than just bolting on some plastic pods; it’s about engineering a solution that thrives in the dirt. We believe in delivering a finished result that prioritizes rugged durability and seamless power management. In this 2026 guide, we’ll show you how to transform your cockpit with high-performance audio that looks factory-original and survives every jump and wash. You’ll discover the secrets to achieving crystal clear sound at high speeds while maintaining the total reliability your vehicle demands. From custom fabrication to stealthy controller mounting, we’re covering the essential steps to outclass the competition on any trail.
Key Takeaways
- Learn how to overcome open-air noise challenges by selecting components with the necessary “throw” to stay clear at any speed.
- Discover the best locations for speakers and subwoofers to maximize cabin space while achieving professional-grade acoustics.
- Understand the power requirements of high-output audio and how to solve battery drainage issues during a Can-Am Maverick X3 sound system install.
- Explore the advantages of custom fabrication and strategic wire routing for a finished result that survives dust, water, and vibration.
- Plan your upgrade path with a focus on long-term reliability and a stealthy, factory-original appearance.
Why Your Can-Am Maverick X3 Needs a Dedicated Audio Upgrade
Driving a Maverick X3 is a visceral experience. The roar of the Rotax engine is part of the fun, but it’s also the enemy of good sound. When you’re pinning it across the dunes, you’re fighting a wall of wind, tire hum, and mechanical noise. Standard speakers just can’t keep up. They lack the “throw” required to push clear sound waves through the turbulence of an open-air cockpit. A dedicated Can-Am Maverick X3 sound system install solves this by using high-efficiency components specifically engineered for high-speed, high-noise environments.
Factory Audio vs. Professional Aftermarket Systems
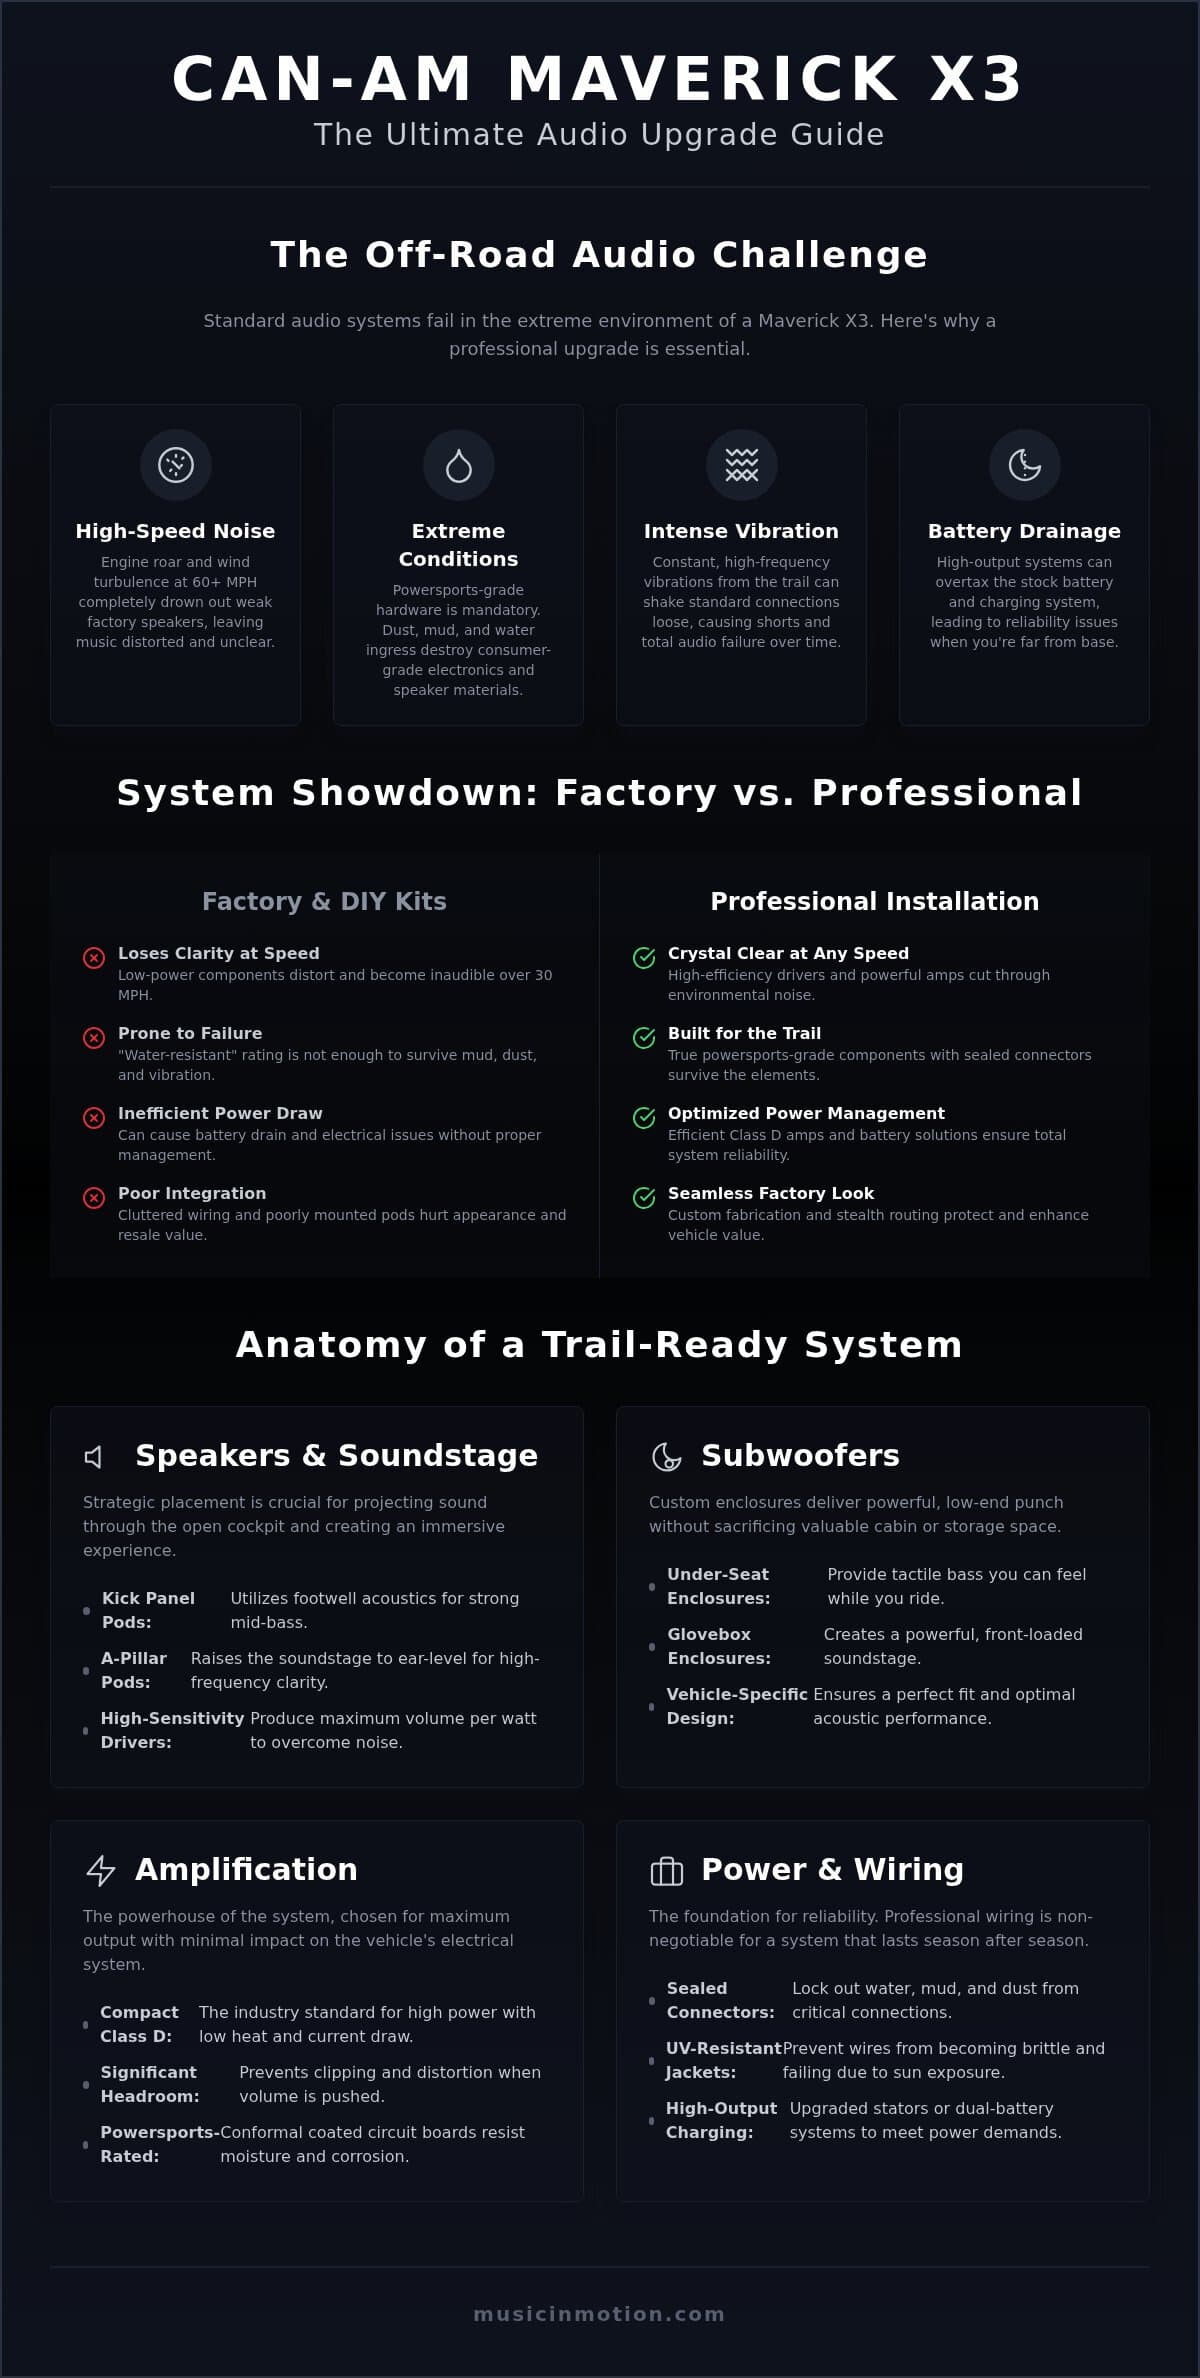
Most factory-installed options are built to a price point rather than a performance standard. They often sound acceptable at idle, but they lose all clarity the moment you hit 30 MPH. We look for high-sensitivity drivers that produce more volume per watt, ensuring your music stays crisp even over the engine’s scream. High-performance systems require Essential Components for a High-Performance setup, including amplifiers with significant headroom. Without that extra power capacity, your audio will clip and distort as you try to overcome the ambient decibel level. Stock head units also typically output low pre-amp voltage, which leads to more background noise and less punch in your music.
The Environmental Reality: Dust, Mud, and Vibration
Off-roading is brutal on electronics. There’s a massive difference between “water-resistant” and true powersports-grade hardware. From sun-baked desert flats to muddy forest trails, the constant, high-frequency vibrations of a UTV chassis can be destructive. Over time, these vibrations shake standard car audio connections loose, leading to intermittent shorts or total failure. Professional-grade wiring harnesses are non-negotiable here. We use sealed connectors and thick, UV-resistant jackets to prevent the sun and mud from degrading your investment. This level of durability ensures your speakers don’t just sound great on day one, but continue to perform after a season of hard riding.
Beyond the immediate performance, professional integration matters for your vehicle’s long-term value. We prioritize a finished result that looks factory-original. Sloppy wiring or poorly mounted pods don’t just look bad; they hurt your resale value. A professional Can-Am Maverick X3 sound system install ensures your X3 remains a premium machine that’s ready for the trail and the market. We bring this same level of dedicated expertise to every project, ensuring that no matter your medium of transport, your equipment is in safe hands.
Essential Components for a High-Performance Maverick X3 Install
Building a world-class audio system for the X3 requires a shift in thinking from traditional car audio. We aren’t just filling a quiet cabin with sound; we’re combatting an environment defined by wind, vibration, and limited space. A successful Can-Am Maverick X3 sound system install relies on selecting components that offer high efficiency and extreme weather resistance. This starts with the hardware that converts electrical energy into the physical movement of air. Understanding how speakers function is the first step in Designing Your Ultimate Can-Am Maverick X3 Audio Experience, especially when you’re competing with a turbocharger’s whistle.
For the low-end punch, we utilize custom subwoofer enclosures that fit under the seats or inside the glovebox area. Under-seat placement is excellent for tactile bass you can feel, while glovebox enclosures often provide a more front-loaded soundstage. We power these systems with compact Class D amplifiers. These amps are the UTV standard because they produce massive wattage with minimal heat and current draw, which is vital for the Maverick’s sensitive electrical system. For the interface, you can choose between stealthy Bluetooth controllers for a clean dash or full multimedia receivers if you need a screen for backup cameras.
Speaker Placement and Soundstage in the X3
Placement is everything in a cockpit this compact. Kick panel pods are the preferred choice for mid-bass because they utilize the footwell’s natural acoustics to reinforce lower frequencies. However, we often supplement these with custom-fabricated A-pillar pods to bring the high-frequency detail up to ear level. While overhead speaker bars are popular for “park and party” scenarios, they often struggle to provide clear audio at 60 MPH because the sound has to fight through the wind buffeting around the ROPS cage. We focus on a balanced approach that maintains maximum legroom while positioning drivers for the best possible “throw” toward the passengers.
Digital Signal Processing (DSP) for Open Cockpits
The secret weapon in a professional build is the Digital Signal Processor. A DSP acts as the brain that cleans and directs audio signals for maximum clarity. In the X3, glass windshields and plastic panels create harsh reflections that muddy your music. We use DSP tuning to compensate for these acoustic challenges, adjusting the timing and equalization so the sound hits your ears perfectly. This allows us to tune for a dedicated “driver seat experience” or an area-filling sound for the whole group. If you’re looking for this level of precision, our team at Music In Motion specializes in these complex, high-fidelity configurations.
Solving the Power Puzzle: Batteries and High-Output Charging
Many owners underestimate the electrical strain of a high-performance audio build. If you’re planning a 1000W+ system, you aren’t just adding speakers; you’re adding a massive power consumer. Calculating the total current draw is a critical first step. At full tilt, a large amplifier can pull more amperage than the stock charging system was designed to handle while also powering lights and cooling fans. This is where the “X3 Battery Problem” begins. The factory battery is designed for starting the engine, not for sustained deep-cycle loads. Relying on it alone often leads to voltage drops that cause amplifiers to clip or, worse, leave you stranded on the trail.
Professional standards for these upgrades are often guided by research from the Specialty Equipment Market Association (SEMA), which highlights the importance of matching electrical capacity to accessory load. We approach every Can-Am Maverick X3 sound system install by evaluating if the stock stator can keep up or if a high-output alternator upgrade is necessary for your specific riding style. If you spend hours idling with the music up, your power needs are very different than a racer who is always at high RPMs.
Dual Battery Systems and Isolators
We frequently recommend a dual-battery setup to separate your audio load from your starting circuit. A smart isolator is the key here; it allows the charging system to feed both batteries while the engine is running but disconnects them when you’re parked. This means you can listen to music at the campsite without worrying if the engine will turn over later. For the auxiliary battery, we often choose between AGM for its vibration resistance or Lithium for its superior weight-to-power ratio. Proper mounting is essential. We use custom brackets to secure these batteries within the X3 chassis to prevent movement during aggressive jumps or high-speed washboards.
Wiring and Fuse Protection for High-Current Systems
Small wires create resistance, and resistance creates heat. For high-output amps, we use 4-gauge or larger power wire to ensure the equipment gets the current it needs for those heavy bass hits. We exclusively use marine-grade, tinned copper wiring. Standard copper corrodes quickly when exposed to the mud and moisture common in UTV riding, but tinned copper stays conductive for years. Safety is our baseline. We place high-current fuses as close to the battery as possible to protect the entire vehicle from fire in the event of a short circuit. It’s a level of detail that transforms a simple Can-Am Maverick X3 sound system install into a reliable, professional-grade system.
The Installation Process: Professional Customization vs. DIY Kits
A successful Can-Am Maverick X3 sound system install begins long before the first speaker is mounted. We start with a strategic vehicle teardown to find the cleanest paths for power and signal. This involves removing interior panels to identify the best wire routing through the center console. We keep audio cables far away from engine heat sources, fuel lines, and moving shift linkages. This level of preparation prevents electrical interference and ensures the wiring doesn’t become a point of failure during aggressive trail riding or deep water crossings.
The Art of Custom Fabrication
Generic plastic pods often fall short in the high-vibration environment of a UTV. They tend to rattle over time and can interfere with legroom or driver visibility. We prefer the precision of custom car audio fabrication to create enclosures that blend perfectly with the X3’s lines. By using fiberglass and advanced composite materials, we build rattle-free mounts that optimize internal air volume for the speakers. This results in punchier mid-bass and a finished look that appears factory-original rather than an afterthought.
Professional Wiring and Integration
Reliability lives in the details of the connections. While many DIY kits rely on simple crimp connectors, we prioritize soldered joints in high-vibration zones. We protect every run with Techflex sleeving and professional loom management. This doesn’t just look clean; it provides an extra layer of defense against the constant abrasion of off-road use. We also ensure that your high-output audio components don’t interfere with the X3’s sensitive ECU or communication lines. This is vital for maintaining the vehicle’s long-term health and safety.
Once the wiring is secure, we focus on secure amplifier mounting. We choose locations with adequate airflow to prevent thermal shutdown during hot summer rides. The process concludes with seamless integration into your vehicle’s safety and lighting systems. Finally, we perform a complete acoustic calibration. We use specialized tools to tune the frequency response, ensuring the system sounds balanced at both idle and wide-open throttle. This final step is what separates a loud system from a high-fidelity Can-Am Maverick X3 sound system install. If you want a setup that’s built to last and performs under pressure, our team at Music In Motion is ready to handle your custom installation.
Designing Your Ultimate Can-Am Maverick X3 Audio Experience
The ultimate audio experience is about more than just decibels. It’s about how the system integrates with your lifestyle behind the wheel. We focus on a finished result that balances reliability, extreme performance, and factory-original aesthetics. When planning your Can-Am Maverick X3 sound system install, we recommend deciding on your long-term goals early. Some enthusiasts prefer a phased approach, starting with high-quality dash speakers before adding subwoofers later. Others want a complete, ground-up build from day one. A professional consultation helps match the equipment to your specific riding habits, ensuring you don’t overspend on features you won’t use or underspec the power you actually need.
Tailoring Sound to Your Riding Style
Your environment dictates your hardware needs. If you spend your time in the dunes, your system must overcome massive wind noise at high sustained speeds. This requires high-efficiency drivers and significant amplifier headroom to keep the music clear. Conversely, if you’re navigating tight, muddy trails, your focus shifts toward total environmental protection and mid-bass punch. We often look to technologies used in premium marine audio systems to ensure your gear survives a pressure washer at the end of the day. Integrating LED lighting upgrades with your audio also creates a total sensory experience, making your X3 the center of attention at every night-time stop.
The Music In Motion Advantage
We’ve spent years refining our approach to powersports electronics. Our philosophy prioritizes the delivery of a finished result over the mere transaction of goods. We treat every vehicle as a unique project, utilizing our expertise in custom vehicle fabrication to solve the specific challenges of the X3 chassis. Whether we’re building a stealthy subwoofer enclosure or managing complex power distribution, our goal remains the same: improving your experience on the trail. We take pride in our evolution as specialists, offering a spectrum of services that range from standard utility enhancements to boundary-pushing custom builds. When you choose us, you’re partnering with a team that’s as passionate about your ride as you are.
Elevate Your Off-Road Experience Today
Transforming your Maverick X3 into a high-fidelity powerhouse requires more than just high-end speakers. It demands a deep understanding of power management, rugged durability, and custom fabrication. By prioritizing professional integration, you ensure your audio system survives the elements while delivering crystal clear sound at any speed. We focus on solving technical puzzles like battery drainage and vibration failure so you can stay focused on the trail ahead. A truly professional Can-Am Maverick X3 sound system install is an investment in your vehicle’s performance and your daily enjoyment.
We bring decades of custom fabrication expertise and a specialized focus on high-performance off-road audio to every project. We don’t just sell parts; we deliver finished results that stand the test of time. Our team is dedicated to maximum reliability, ensuring your gear looks factory-original and performs under the harshest conditions. Ready for a finished result? Contact Music In Motion for your custom Can-Am X3 audio consultation today. The trail is calling, and your favorite soundtrack should be part of the ride. We’re here to help you build a system that outclasses the competition and handles anything the dirt throws your way.
Frequently Asked Questions
Is it worth installing a sound system in a Can-Am Maverick X3?
Yes, a professional upgrade is absolutely worth it for riders who want to hear their music over the Rotax engine and wind noise. Factory setups often lack the necessary output to remain clear at high speeds. We design systems that provide a visceral, immersive experience whether you’re cruising through the woods or pinned at wide-open throttle. It’s about more than just volume; it’s about the quality of the sound during your most aggressive rides.
Will a high-power audio system drain my Maverick X3 battery?
A high-output system can quickly overwhelm the stock electrical system if it isn’t properly engineered. The factory battery is designed primarily for starting the engine, not for deep-cycle audio loads. We typically recommend a dual-battery configuration with a smart isolator. This setup ensures your music never leaves you stranded with a dead battery. It allows you to enjoy your audio at camp while keeping your starting battery fully charged for the ride home.
Can I install a car audio system in my UTV?
We strongly advise against using standard car audio in a UTV. Car components aren’t designed to survive the constant exposure to mud, dust, and pressure washing. A proper Can-Am Maverick X3 sound system install requires powersports-grade hardware that features UV-resistant materials and waterproof seals. We also use tinned copper wiring to prevent the internal corrosion that typically destroys standard automotive electrical connections in off-road environments.
What is the best location for speakers in a Maverick X3?
Optimal placement depends on whether you’re riding or parked. For the best audio at speed, we prioritize kick panel pods for mid-bass and custom-fabricated A-pillar mounts for high frequencies. This positioning directs the sound toward your ears rather than letting it get lost in the wind. While overhead bars are popular for social gatherings, they often struggle to maintain clarity once you hit 40 MPH due to the turbulence around the ROPS cage.
How much does a professional Can-Am Maverick X3 sound system install cost?
The investment for a professional Can-Am Maverick X3 sound system install varies significantly based on the level of custom fabrication and the performance tier of the components. A basic speaker upgrade is quite different from a full-build featuring custom subwoofer enclosures and digital signal processing. We focus on delivering a finished result that matches your specific riding style and performance goals. We recommend a consultation to determine the best path for your vehicle’s unique needs.
What is the difference between marine-grade and powersports audio?
While both categories prioritize weather resistance, powersports audio is specifically engineered for the high-vibration and space-constrained environments of UTVs and motorcycles. Marine gear is excellent for moisture, but powersports components often feature reinforced mounting structures and compact footprints. We select the best of both worlds to ensure your system survives the physical punishment of the trail while maintaining the high-fidelity sound you expect from a premium marine installation.
Can I keep my factory radio and still upgrade my speakers?
You can certainly keep your factory source unit while significantly upgrading the rest of the system. We often integrate high-performance amplifiers and speakers by using a Digital Signal Processor to clean up the factory signal. This allows you to maintain the original look and functionality of your dash while enjoying a massive leap in audio quality. It’s a great way to achieve a stealthy, factory-original look without sacrificing the punch and clarity of an aftermarket build.
How do I protect my UTV sound system from mud and water?
Protection starts with the hardware selection and ends with professional integration. We use IP-rated speakers and amplifiers that are designed to be submerged or sprayed. Beyond the equipment, we protect the system by using tinned copper wiring and sealed, heat-shrunk connections. Custom-fabricated enclosures also provide a physical barrier against mud and debris. This comprehensive approach ensures your investment stays safe even when you’re pushing through the deepest water crossings or the thickest mud holes.