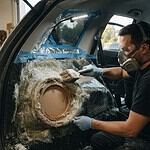
Marine speakers need gentle cleaning and protection from direct sun, saltwater, moisture, and physical impact. Learning how to clean and protect marine speakers starts with avoiding harsh sprays and choosing methods suited to each part, from the tweeter to the woofer cone and surround. Let speakers dry fully after washing before playing them.
Marine-ready equipment still needs careful cleaning to protect its surfaces and components. Learn how to remove dust from tweeters, clean cabinets and finishes, and care for different woofer materials without using unnecessary moisture. A few practical steps can also reduce exposure to the elements and help keep your boat’s audio ready for the next outing.
Key Takeaways
- Reduce exposure to direct sun, saltwater, and physical knocks, and avoid directing a strong water spray at marine speakers.
- Clean tweeters gently; use low-pressure air or a careful dust-removal method suited to the tweeter’s surface.
- Match the cleaning approach to the cabinet and finish, and dry metal grilles promptly to help prevent rust.
- Identify the woofer cone material before cleaning: paper and plant-fiber cones need a dry soft brush, while polypropylene can be wiped.
1. Protection from UV rays, saltwater, moisture, and physical impact
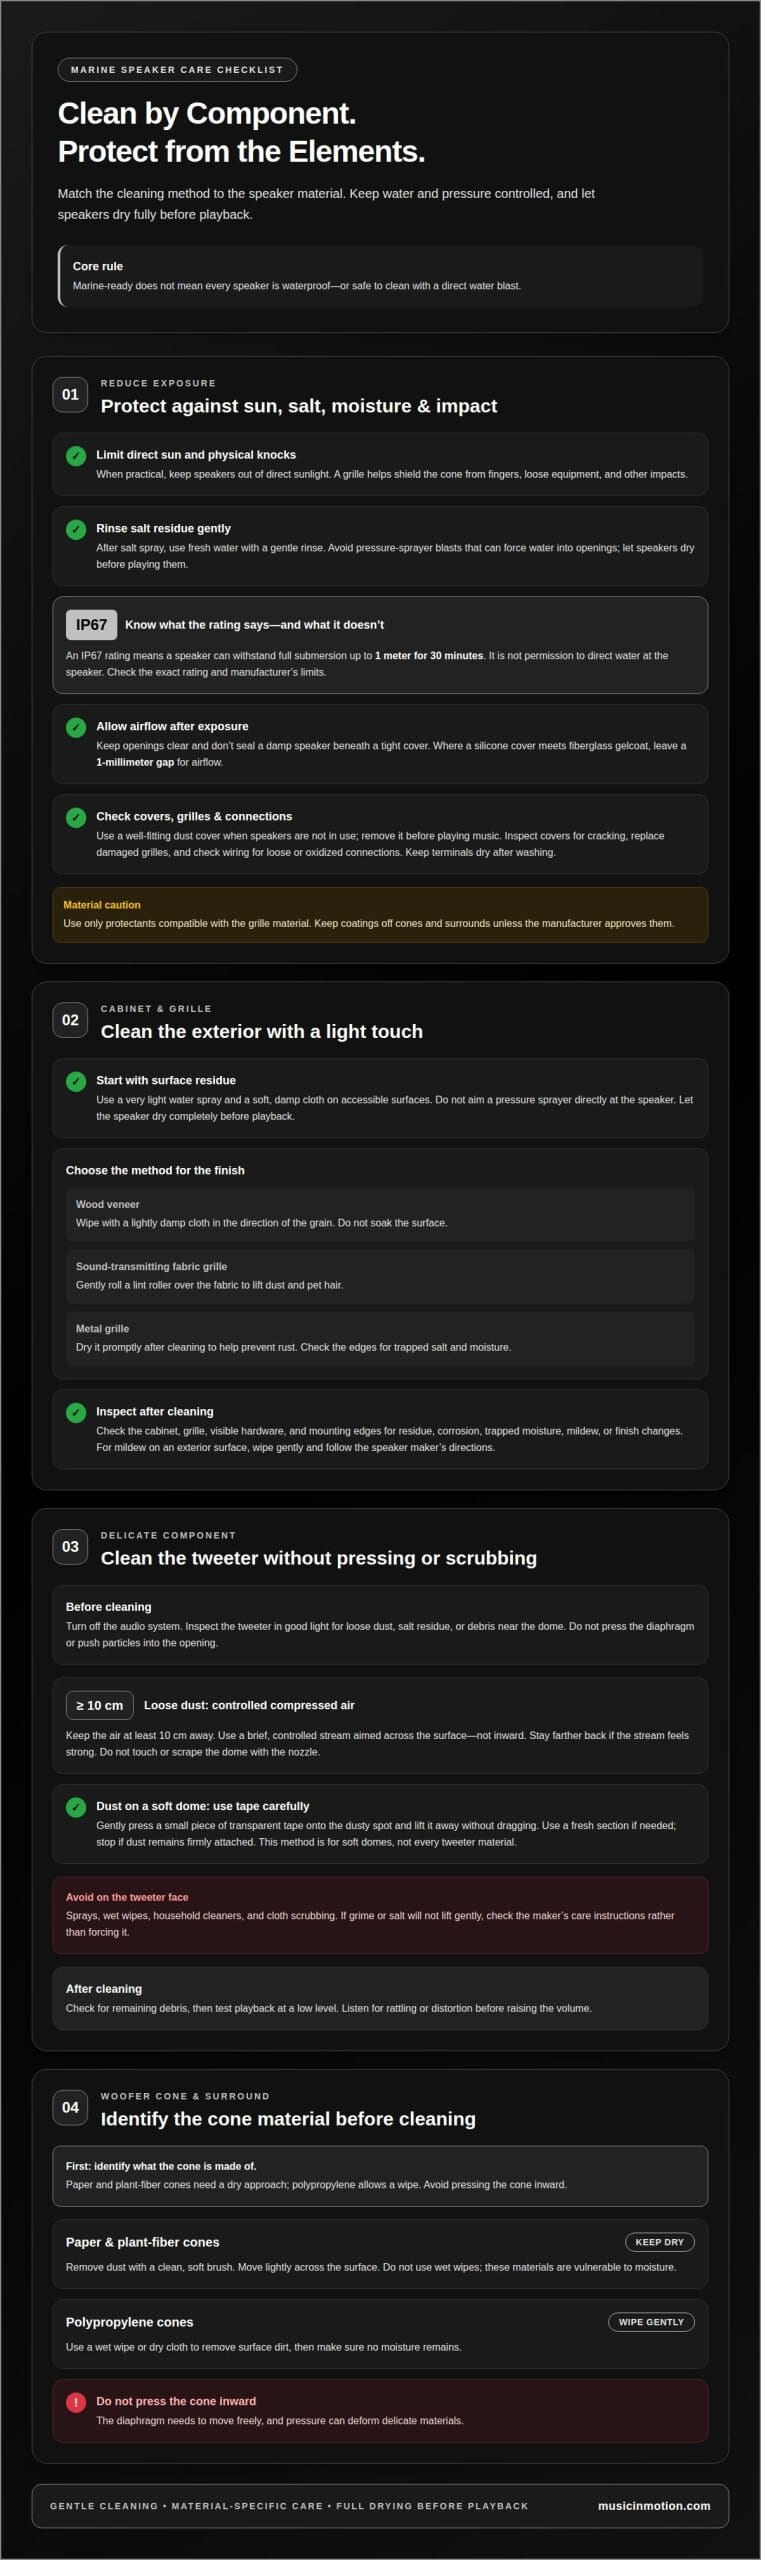
Marine speakers face sun, salt spray, moisture, and knocks from gear or passengers. When practical, keep them out of direct sunlight, since prolonged exposure can bubble cabinet finishes or age electrical components. Salt residue can remain on grilles and terminals after spray dries, so rinse gently with fresh water and let speakers dry before playing them. Avoid pressure-sprayer blasts, which can force water into openings.
Marine-ready doesn’t mean every speaker is waterproof. An IP67 rating means a speaker can withstand full submersion up to 1 meter for 30 minutes, but don’t treat that as permission to direct water at it. Check the exact rating and the manufacturer’s limits. Marine models may use UV-protected plastic and water-resistant cone materials, but construction varies.
Drainage and airflow matter after rinsing or exposure to spray. Keep speaker openings clear, and don’t seal a damp speaker beneath a tight cover. Where a silicone cover meets fiberglass gelcoat, leave a 1-millimeter gap for airflow. Direct sun and summer heat can cause neoprene covers to crumble within a single season, so inspect covers for cracking and fit.
Dust covers help limit dust and moisture when speakers aren’t in use. Choose a cover that fits the speaker, remove it before playing music, and replace a damaged grille promptly. A grille helps shield the cone from fingers, loose equipment, and other impacts. Marine speakers may undergo salt-fog, UV, moisture, and thermal testing; these tests describe evaluated exposures, not immunity from damage.
Prevent terminal corrosion by inspecting wiring for loose or oxidized connections and cleaning affected contacts promptly. Keep connections dry after washing, and don’t use compressed air on binding posts while the speakers operate. Protectants and marine-grade coatings aren’t interchangeable: use only products compatible with the grille material, and keep coatings off cones and surrounds unless the manufacturer approves them.
2. Careful tweeter cleaning
A tweeter’s small diaphragm can be more delicate than its grille. Turn off the audio system, then inspect the tweeter in good light for loose dust, salt residue, or debris near the dome. Don’t push particles into the opening or press on the diaphragm. Careful tweeter cleaning is an important part of how to clean and protect marine speakers without damaging delicate components.
For loose dust, use compressed air from at least 10 cm away. Keep the air stream controlled and brief, and aim it across the surface rather than forcing debris inward. Stay farther back if the air stream feels strong. Avoid using a nozzle to scrape or touch the dome. Compressed air is for light surface dust, not stubborn buildup or damp residue.
If dust is stuck to a soft dome tweeter, transparent tape may help. Gently press a small piece onto the dusty spot, then lift it away without dragging it across the dome. Use a fresh section of tape if needed, and stop if the dust remains firmly attached. This method is for dust on a soft dome, not every tweeter material.
Avoid sprays, wet wipes, and household cleaners on the tweeter face. Liquid can leave residue or reach components behind the diaphragm. If salt deposits or grime won’t lift with gentle air or tape, don’t scrub the surface with a cloth. Check the speaker maker’s care instructions for the tweeter material. Knowing how to clean and protect marine speakers also means recognizing when surface cleaning isn’t suitable. After cleaning, check for remaining debris and test playback at a low level. Listen for rattling or distortion before raising the volume. If the tweeter still sounds uneven, the problem may go beyond surface dust, so cleaning alone may not resolve it.
3. Cleaning speaker cabinets and finishes
Start with the cabinet and grille, not the exposed speaker cone. Use a very light water spray to rinse away salt residue, and don’t aim a pressure sprayer directly at marine speakers. Wipe accessible surfaces with a soft, damp cloth, then let the speaker dry completely before playing music. For mildew on an exterior surface, wipe gently and follow the speaker maker’s cleaning directions. Avoid harsh scrubbing that could damage the finish.
Match your cleaning method to the material. Wipe wood veneer in the direction of its grain with a lightly damp cloth, without soaking the surface. For a sound-transmitting fabric grille, gently roll a lint roller over the cloth to lift dust and pet hair. Dry a metal grille promptly after cleaning to help prevent rust. Check its edges for residue, where salt and moisture can collect.
Remove salt deposits from the cabinet with a gentle rinse and cloth, then inspect the grille and visible hardware for corrosion. Don’t scrape corroded areas or apply cleaner indiscriminately, since products can affect different finishes and materials. Corrosion on wiring or terminals is an electrical connection issue, not a cabinet-cleaning task. Replace a damaged grille promptly because it can no longer provide the same physical barrier.
There’s no single cleaning interval for every boat. Clean speakers after salt spray, muddy splashes, or visible grime, and inspect them during routine boat cleaning. A quick look at the cabinet, grille, and mounting edges can reveal trapped moisture, mildew, loose material, or finish changes before they worsen. After washing, check that the grille is dry and no standing water remains around the cabinet. The basic sequence is simple: remove surface residue, protect the finish, and let the speaker dry before use.
Rinse gently with a very light spray, not a direct pressure-sprayer blast. Let washed speakers dry before playback, and wipe veneer along its grain.
4. Cleaning woofer cones and surrounds
Identify the woofer cone material before choosing a cleaning method. Paper and plant-fiber cones are vulnerable to moisture, so remove dust with a clean, soft brush. Move lightly across the surface and don’t use wet wipes. Avoid pressing the cone inward: the diaphragm needs to move freely, and pressure can deform delicate materials.
Polypropylene cones allow a different approach. Use a wet wipe or dry cloth to remove surface dirt, then make sure no moisture remains. Work gently around the dust cap and cone edge without pushing debris into the surround. If dirt clings to the surface, make another light pass instead of scrubbing. Harsh rubbing can mark the cone or press it out of shape.
The surround connects the cone to the speaker frame and flexes as the woofer moves. Treat it as a separate, delicate surface: remove loose dust gently, and don’t stretch, pinch, or scrub it. Cone and surround materials can differ within the same speaker, so follow the care instructions for each. Keep liquids and cleaning products away unless the manufacturer’s directions allow them.
Before cleaning, switch the audio system off and inspect the cone in good light. Look for tears, loose edges, stuck debris, or a surround that has pulled away from the frame. Cleaning won’t repair those problems. Stop if the cone feels loose or damaged, since pressing it can worsen the condition. Afterward, check that no lint or residue remains, then play a familiar track at low volume. Listen for rubbing or rattling that wasn’t present before. If the woofer needs replacement or a custom enclosure, explore marine audio system support for a project-specific solution.
That material distinction can help guide the first inspection, but do not assume a cone is waterproof solely because the speaker is intended for marine use. A forum participant said marine-grade speaker cones are typically made from waterproof material, unlike the paper used in standard speakers. Confirm the specific cone material and care instructions before wiping it, and use the gentlest method suited to that material. If the material is uncertain, avoid moisture and contact the manufacturer for guidance rather than testing a cleaner on the cone.
Music In Motion: Marine Audio Systems
When cleaning no longer addresses the problem, or your boat’s audio needs a carefully planned upgrade, Music In Motion can help. Our Marine Audio Systems and Custom Installations bring the speakers, wiring, and listening setup together for your vessel. If a woofer needs replacement or you’re considering a custom subwoofer enclosure, we can shape the installation around the sound you want and the space available onboard.
Bring us your questions about speaker condition, sound quality, or a system that needs a fresh approach. We’ll focus on your boat’s practical needs and the finished result. Contact Music In Motion to discuss your marine audio system.
Keep Your Boat’s Sound Ready for What’s Next
Care can also help you notice changes in your boat’s audio before they become harder to address. Keep track of issues such as recurring moisture, loose mounting, or sound that changes during playback. Those observations can help distinguish routine upkeep from a system concern that needs a closer look. Knowing how to clean and protect marine speakers gives you a useful baseline, but persistent performance changes may call for a broader assessment. Music In Motion can help you consider the next step for your boat’s audio setup, whether you’re addressing an existing issue or planning a custom installation. Contact Music In Motion to discuss your marine audio needs. A clear plan can help you enjoy your time on the water with sound that feels ready for the journey ahead.
Frequently Asked Questions
How do you clean marine speakers safely?
Switch off the system and clean one area at a time, keeping water and cleaning tools away from exposed electrical connections. Don’t remove the speaker or grille unless the manufacturer’s instructions explain how. If a stain remains after gentle surface cleaning, identify the finish and material before trying another method. Residue on a painted cabinet, for example, needs different care from debris on a cone.
What cleaners and tools are safe for marine speaker cones, grilles, and surrounds?
Choose tools for the specific material, and avoid abrasive pads, stiff brushes, and strong solvents that could scratch or weaken surfaces. A clean microfiber cloth works well on a smooth exterior grille or cabinet, while cones and surrounds need material-specific care. Don’t assume a product labeled “marine” is safe for every speaker component; follow the speaker manufacturer’s instructions.
How can you protect marine speakers from UV, saltwater, and moisture?
Limit prolonged sun exposure by storing the boat under shade or using a cover that doesn’t trap damp air around the speakers. After a saltwater outing, include the speaker area in your regular boat cleanup and look for residue, discoloration, or damaged protective parts. Keep loose gear from striking grilles, and clear blocked drainage before moisture collects near the installation.