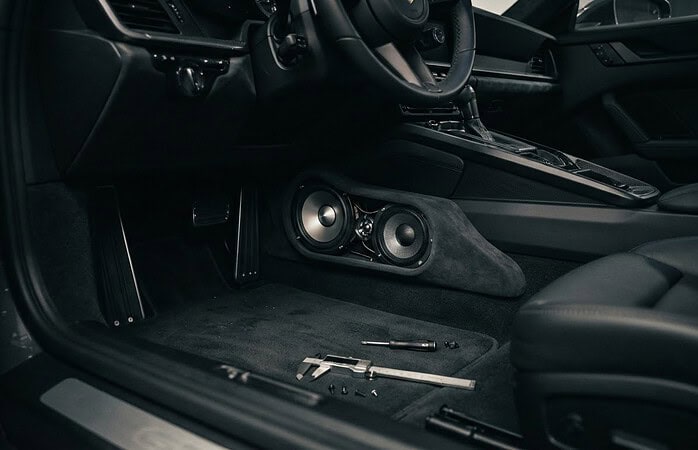
A clear enclosure can turn a subwoofer into a visual feature, but the best plexiglass subwoofer box design starts with sound and fit, not appearance alone. Acrylic affects how an enclosure is built, so the panel, box volume, subwoofer, and available vehicle space need to work together. A striking finish matters, but so does a box that performs reliably on the road.
If you’re deciding between a full-acrylic box, a clear viewing window, or a mixed-material design, compare the practical trade-offs before fabrication begins. This guide covers how to plan around your subwoofer and vehicle, why rigidity and sealed joints matter, and how different enclosure approaches balance visibility with acoustic needs. Custom fabrication and professional integration can bring those decisions together in an enclosure tailored to your vehicle and audio system.
Key Takeaways
- Set your project goals and record vehicle dimensions before choosing an enclosure layout.
- Compare an acrylic window, a mixed-material box, and a predominantly acrylic build to balance visibility with practical fit.
- Plan the plexiglass subwoofer box design around the selected subwoofer’s enclosure needs, including panel support and sealed joints.
- Coordinate the enclosure with the amplifier, available vehicle space, and interior presentation as part of one audio build.
- Custom fabrication and professional integration can bring fit, appearance, and system requirements together.
What Is a Plexiglass Subwoofer Box Design, and What Should It Achieve?
A plexiglass subwoofer box design is a plan for an enclosure that uses clear acrylic as a viewing panel, a visual accent, or a larger part of its construction. The panel can reveal the subwoofer and, if included, details such as internal lighting. Visibility is only one consideration, though. The enclosure must also suit the selected subwoofer and fit the vehicle.
The enclosure’s job is to meet the subwoofer’s acoustic requirements; transparent acrylic is a styling choice that must be designed around that job. This distinction keeps a dramatic appearance from becoming the only design goal. Plan for the subwoofer’s specified enclosure type and volume, the space available for installation, and how the acrylic will be integrated into a rigid, sealed structure.
Acrylic is also known as Poly(methyl methacrylate), or PMMA. The Poly(methyl methacrylate) (PMMA), also known as acrylic or Plexiglas reference provides an overview of the material and its applications. For enclosure planning, focus on how much transparency the build needs, rather than assuming every surface should be clear.
Why add an acrylic window to a subwoofer enclosure?
A clear panel can put the driver on display and make carefully placed internal lighting part of the presentation. That creates a visual feature, not an acoustic upgrade: a window doesn’t by itself improve the subwoofer’s sound. Choose its size and position based on the viewing angle inside the vehicle and the cabin’s style, while keeping the enclosure’s function in view.
What should the design get right before fabrication?
Start with the chosen subwoofer, its enclosure requirements, and the actual installation space. Then decide which surfaces need to be visible and which can use conventional enclosure materials. A window or accent can deliver the intended look without making the whole box transparent. Plan for sound, secure fitment, and practical use of the vehicle, including how the enclosure will occupy the available space.
Before drawing the box, record the details that will shape it:
- Subwoofer: Note the model’s enclosure specifications and intended enclosure type.
- Vehicle space: Measure the installation area and note nearby features that affect placement or access.
- Visibility: Decide what the clear section should show and where it will be seen.
- Materials: Assign acrylic to viewing or design areas, and use conventional materials for other panels where appropriate for the build.
These decisions connect the appearance to the actual installation, rather than treating the box as a standalone display. Custom fabrication can bring the enclosure, subwoofer, and vehicle space together in a design that balances presentation with the audio system’s needs.
Acrylic Subwoofer Box Design: Balance Visibility, Strength, and Sound
Acrylic gives you a clear view of the subwoofer and any lighting or details inside the enclosure. Medium-density fibreboard (MDF), by contrast, is a common choice for panels where transparency isn’t needed. A mixed-material build uses both: acrylic where visibility matters and opaque panels elsewhere. The right combination depends on the intended look, the vehicle, and the construction requirements of the enclosure.
Enclosure performance depends on the complete design, not transparency alone. Panel size and support, secure joints, internal layout, and installation all contribute to the finished result. Acrylic can behave differently from MDF under vibration, so a transparent panel shouldn’t be treated as a cosmetic swap with no construction implications. Sound quality also depends on designing the enclosure for the selected subwoofer.
Acrylic window or full acrylic enclosure: what changes?
A window can reveal the driver while leaving most of the enclosure in conventional material. Mixed-material construction allows for more visible area or distinctive shapes while keeping other sections opaque. A predominantly acrylic enclosure puts more of the box on display. That can create a stronger visual statement, but it calls for careful planning of panel connections and support. None of these approaches is automatically best; choose based on the intended presentation and the needs of the build.
Consider how the enclosure will look from the seats and whether the viewing angle shows what you want. A small window may suit a subtle interior, while a larger clear section may work when the enclosure is meant to be a focal point. More visible surface can also mean more fabrication details to resolve, including how panels meet and how the finished box fits the vehicle.
How do material and construction choices affect the result?
Panel dimensions matter because larger unsupported areas may flex under pressure. Appropriate material thickness and support depend on the enclosure’s size, layout, and fabrication method, so avoid treating one thickness as a universal rule. Plan joints for a secure, sealed assembly. Poorly executed connections can let air leak, affecting enclosure performance.
Before fabrication, review material guidance for the specific design and construction method. Consider where the acrylic panel attaches, how its edges will be finished, and whether the surrounding structure supports it as intended. Account for how the enclosure will be secured in the vehicle and how its placement uses the available space. These details turn a visual concept into a complete build plan.
For example, a driver-facing window may need a different shape and support plan than a narrow side panel intended to show internal lighting. In either case, decide the acrylic’s role before parts are cut. If you’re bringing appearance, fit, and audio needs together, custom subwoofer enclosure fabrication can help translate those decisions into a coordinated vehicle build.
Compare Plexiglass Subwoofer Box Design Options Before Choosing
The right layout depends on what you want people to see, how the enclosure fits the vehicle, and how much fabrication the design requires. An acrylic window creates a focused display; a mixed-material build allows more room for custom shapes; a predominantly acrylic enclosure puts the box itself on show. None is automatically best for sound. Acoustic performance depends on the complete enclosure design and the selected subwoofer’s requirements.
| Design approach | Visibility | Vehicle integration | Flexibility and fabrication |
|---|---|---|---|
| Acrylic window | Focused view of the driver or interior details | Most of the enclosure can remain visually understated | Clear panel must be planned around its opening, support, and joints |
| Mixed-material enclosure | More acrylic can be used for shaped or multiple viewing areas | Opaque sections can help the design work with the vehicle interior | Material transitions and connections need coordinated fabrication |
| Predominantly acrylic enclosure | Most of the enclosure remains visible | Works best when the box is intended to be a prominent feature | More transparent surfaces and connections demand careful planning |
When does a viewing-window design make sense?
A window is a practical choice when you want to showcase the subwoofer or a particular interior detail without putting the whole enclosure on display. For example, a clear panel facing the cabin can create a defined focal point while the remaining structure uses another material. The installation area and viewing angle help determine the panel’s placement and size.
When might a larger acrylic feature suit the build?
A larger clear section or predominantly acrylic enclosure may suit a vehicle build where the box is part of the overall presentation. It offers more visible surface, but requires careful consideration of panel dimensions, support, connections, and fitment. The added visibility may not suit a tight or less display-focused installation, so match the design to the vehicle and project goals.
Use these questions to narrow down your choice:
- What should be visible? If you only want to show the driver, a window may be enough. If the enclosure itself is the feature, consider a broader acrylic area.
- How will the enclosure sit? Account for its position, the viewing angle, and the space it occupies in the vehicle.
- How involved should fabrication be? More acrylic and more material transitions mean more construction details to resolve.
- What does the subwoofer require? Keep the enclosure plan aligned with its specifications, whatever material you choose.
A well-planned plexiglass subwoofer box design matches the display goal to the actual installation. Custom fabrication can coordinate visible features with fit and audio requirements, rather than treating appearance as a separate decision.
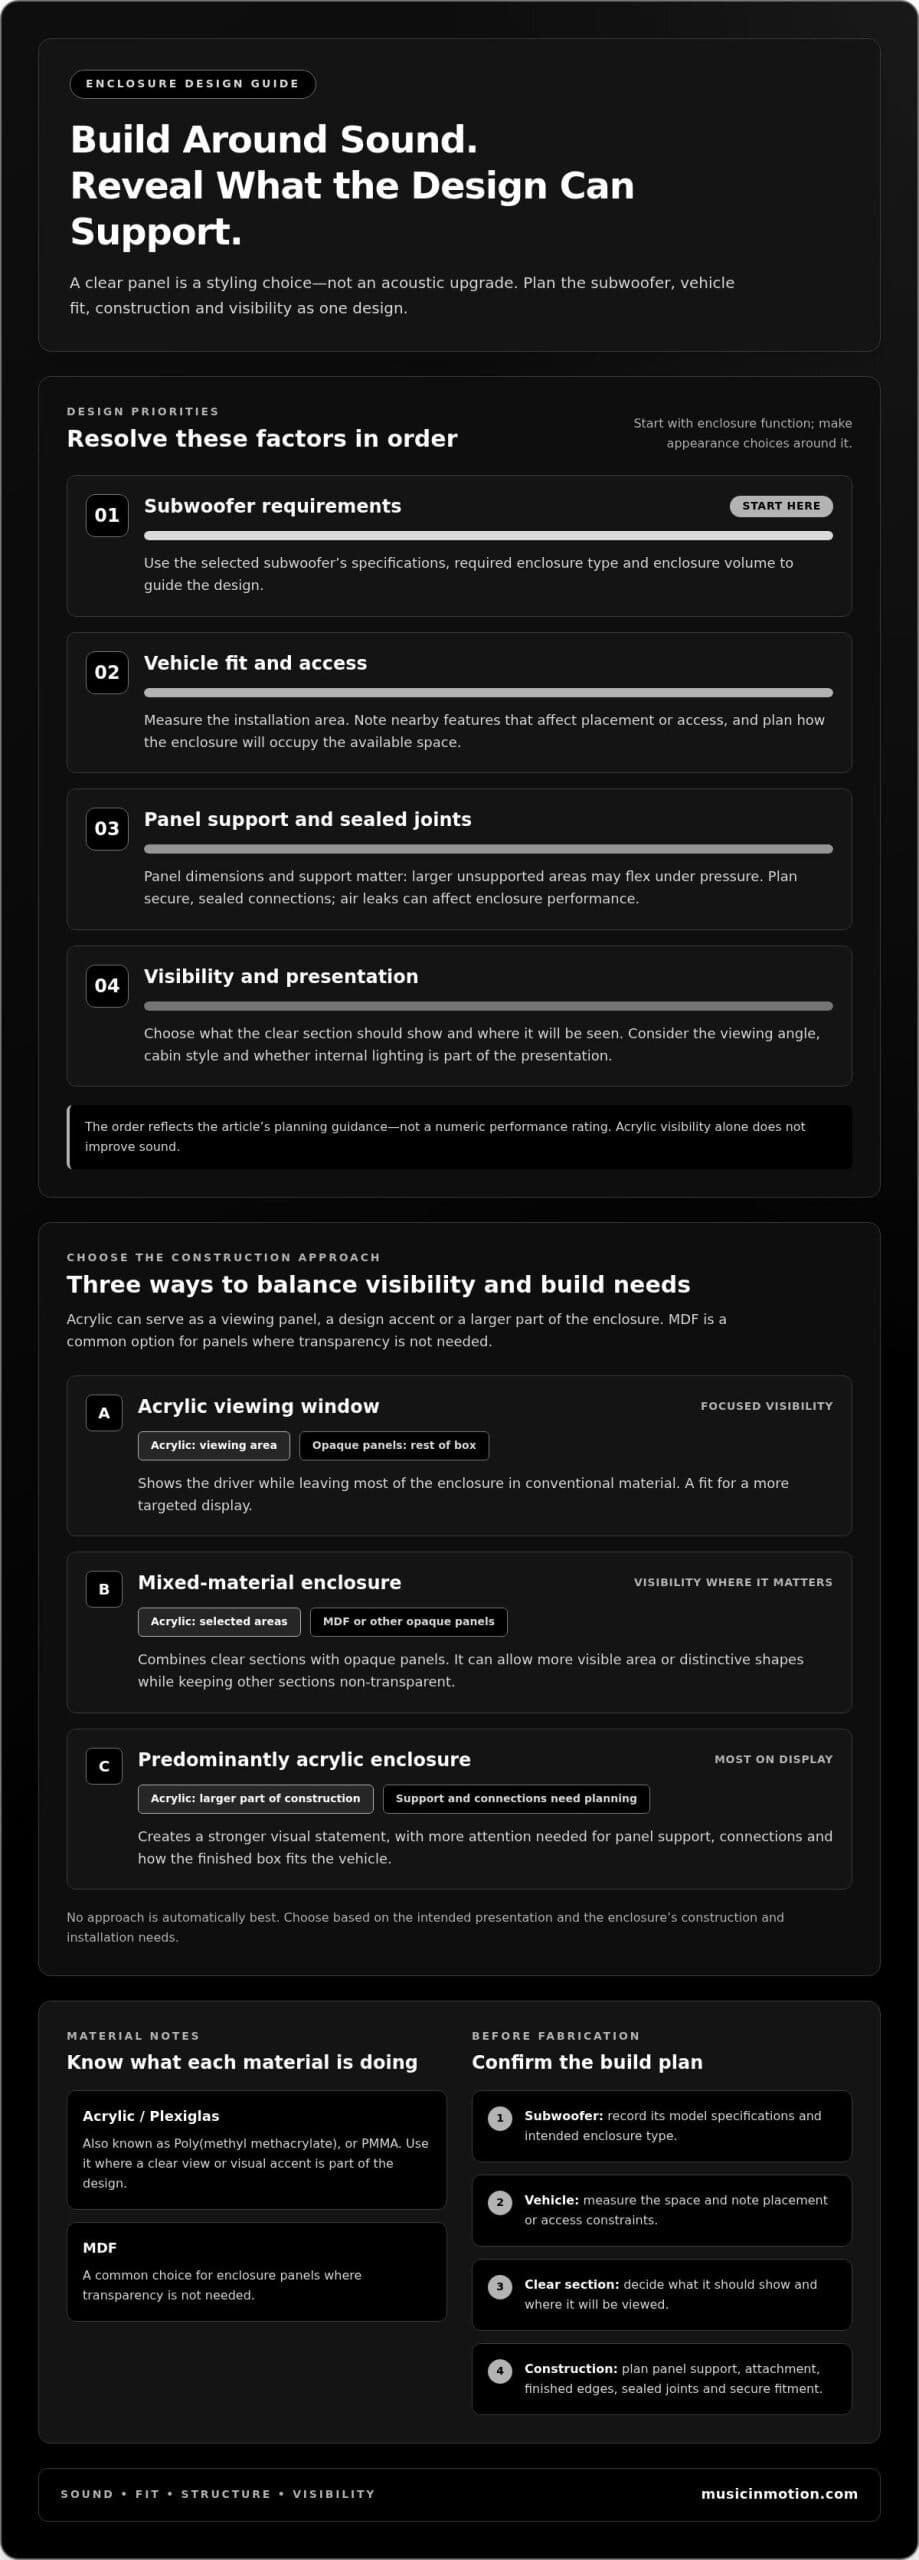
How to Plan a Plexiglass Subwoofer Box Design Step by Step
A successful plexiglass subwoofer box design moves from audio requirements to a drawing, then to fabrication, fitment, and testing. Start with measurements and priorities, not a sheet of acrylic. A clear plan helps prevent the visible feature from competing with the subwoofer’s needs or the vehicle’s space and practical use.
What information belongs in the initial design plan?
First, record the selected subwoofer model and its manufacturer-provided enclosure guidance. Measure the intended location, including usable width, height, and depth, and note anything that affects access, cargo space, or the interior layout. Then decide whether acrylic will serve as a window, an accent, or the dominant visual element. These details give the design a workable starting point. For a broader look at the fabrication process, explore this custom car audio fabrication guide.
Use this sequence to move from idea to installed enclosure:
- Set the project goal. Define what you want to see, how the enclosure should sit in the vehicle, and how much cabin or cargo space it can occupy.
- Choose the subwoofer and alignment. Use the driver’s specifications to establish the enclosure type and required internal volume. If the design is ported, the port dimensions and layout must follow the subwoofer guidance and intended enclosure alignment, not just the available box shape.
- Measure the installation area. Record the usable dimensions and identify access points, nearby vehicle features, and interior details that affect the enclosure’s shape or position. Leave room for installation and system components.
- Map the materials and visible areas. Mark the acrylic panels on the drawing, along with conventional material sections, joints, internal layout, and any planned port. Consider the view from the seats, not only how the box looks outside the vehicle.
- Review, fabricate, and test. Check the drawing against the subwoofer guidance and vehicle measurements before fabrication. During installation, confirm fitment and integration with the audio system. Test the completed setup and address issues before considering the build finished.
Before fabrication starts, settle the subwoofer requirements, enclosure alignment and volume, vehicle dimensions, acrylic placement, and installation constraints. This checklist keeps appearance decisions connected to the build’s functional requirements.
How should the design move from drawing to installation?
A drawing should show the enclosure’s overall dimensions, panel locations, visible acrylic areas, and planned internal arrangement. Reviewing it makes design choices easier before material is cut. Fabrication turns the plan into a physical enclosure, while fitment checks confirm that it sits as intended in the vehicle. Testing completes the process by evaluating the enclosure as part of the installed audio system.
When an enclosure needs to fit a specific vehicle and work with the rest of the audio system, professional integration can coordinate those stages. Music In Motion provides custom fabrication and vehicle audio integration. Plan a custom subwoofer enclosure around your vehicle and system.
Bring Your Plexiglass Subwoofer Box Design into a Finished Vehicle Build
A plexiglass subwoofer box design reaches its full potential when the enclosure is treated as part of the vehicle’s audio system, not as a display piece added at the end. Its dimensions and placement need to work with the selected subwoofer, amplifier, available space, and the look you want inside the vehicle. A thoughtful build brings those pieces together so the clear feature feels intentional and the finished installation belongs in the cabin or cargo area.
That coordination matters in practical ways. The enclosure’s shape affects how it uses vehicle space, and its position influences both what you see and how you use the area around it. Planning the enclosure alongside the system helps align the visual concept with fitment, construction, and audio needs.
What does professional custom integration bring to the project?
Custom fabrication adapts the enclosure concept to the vehicle and audio system instead of relying on a generic box shape. The work can coordinate acrylic placement, enclosure construction, subwoofer fit, and installation within the available space. Professional integration also considers the amplifier and wider system, helping the enclosure function as part of a finished build rather than an isolated component. For context on the complete system, see this car audio upgrade guide.
Music In Motion provides custom subwoofer enclosures, custom fabrication, and vehicle audio installations. The aim is a coordinated result, from the enclosure’s appearance to its place in the vehicle and connection to the audio system.
What should you bring to a custom enclosure consultation?
A few details can make it easier to turn a visual idea into a useful project plan. Gather information about the vehicle and audio equipment already selected or installed. Bring a sketch or reference images if you have them. They can show whether you picture a small viewing window, a broader acrylic feature, or a more understated enclosure that suits the vehicle’s interior.
- Vehicle details: Identify the vehicle and the area where the enclosure needs to fit. Note space limits and how you use that area.
- Subwoofer information: Bring the selected model and its enclosure guidance so the design can account for its requirements.
- Existing components: Include amplifier and other system details that may affect installation and integration.
- Visual references: Share sketches or images that communicate the intended visibility, materials, and overall presentation.
With those details in hand, the project can move from broad inspiration toward a build shaped around your vehicle and system. Music In Motion’s custom fabrication and professional integration connect design decisions to a finished vehicle audio installation.
Ready to plan the enclosure around your vehicle and audio goals? Discuss a custom subwoofer enclosure with Music In Motion.
Turn Your Clear-Enclosure Idea into a Vehicle Build
The next step is to turn your plexiglass subwoofer box design from a visual idea into a plan shaped around your vehicle and listening priorities. Think about the experience you want behind the wheel: a subtle acrylic detail, a clear view of the subwoofer, or an enclosure that contributes to the interior’s presentation. Those preferences can guide decisions about fit, fabrication, and how the enclosure connects to the rest of the system.
Music In Motion brings custom subwoofer enclosures and vehicle audio installations together through custom fabrication and professional integration. That means the project can be considered as a complete result, not just a transparent panel or a box in isolation. Your vehicle details, subwoofer information, and design references are a practical starting point for shaping the build.
Ready to move from concept to a finished installation? Talk with us about a custom subwoofer enclosure. Let’s shape a clear, purposeful design around the way you use and enjoy your vehicle.
Frequently Asked Questions
Is plexiglass a good material for a subwoofer box?
Yes, acrylic can work in a subwoofer enclosure when the design accounts for its structural role. It offers clear visibility, but a transparent panel or full acrylic build needs suitable dimensions, support, and secure joints. A common approach is to use acrylic only where visibility matters and another enclosure material for the remaining panels. The right choice depends on the subwoofer, enclosure design, vehicle fit, and the look you want.
Can you use an acrylic window in a subwoofer enclosure?
Yes, an acrylic window can be incorporated into an enclosure to show the driver or an interior detail. Plan the opening and panel as part of the box, with the surrounding structure in mind. For example, a side-facing window may suit a box tucked into a cargo area, while a front-facing panel may be more visible from the cabin. The enclosure still needs to meet the subwoofer’s requirements.
Does plexiglass change how a subwoofer sounds?
It can affect the result if the enclosure design allows panels to flex or joints to leak. Acrylic may resonate differently from common enclosure materials, so transparency alone doesn’t guarantee the same behavior as a conventional box. The enclosure’s volume, construction, and fit all matter. If you hear a new buzz or rattle after installation, check for loose trim or hardware as well as enclosure vibration before changing the audio settings.
How thick should plexiglass be for a subwoofer box?
Thickness depends on the panel’s size, support, and role in the enclosure. A practical starting point in the research guidance is at least 1/2 inch; for windows wider than 18 inches, 3/4 to 1 inch is suggested to help limit flex. Treat those figures as planning guidance, not a universal specification. Match the final choice to the enclosure design and fabrication method.
What is the difference between an acrylic window and a full acrylic enclosure?
An acrylic window is a clear panel set into an enclosure that may otherwise use another material. A full acrylic enclosure uses clear material across most or all of its visible structure, putting more of the box on display. A window can focus attention on the subwoofer without showing every panel. A full build makes the enclosure more prominent and calls for careful planning of each panel and connection.
Can a plexiglass subwoofer box fit in any car?
No. Fit depends on the vehicle’s available space, the enclosure dimensions required for the chosen subwoofer, and how the box will be positioned and secured. A design that fits one trunk may block access or cargo space in another vehicle. Before choosing a layout, measure the intended area and consider openings, seat movement, and how you use the space. A custom enclosure can be shaped around vehicle-specific constraints.
How do you keep an acrylic subwoofer box from vibrating?
Start by designing panels with appropriate dimensions and support, then make sure the enclosure joints are secure and sealed. The box also needs to be mounted firmly so it can’t shift against nearby trim or cargo. If a sound persists, identify its source: panel flex, a loose fastener, or contact with the vehicle can each create a different rattle. Address the cause rather than relying on added padding to mask it.