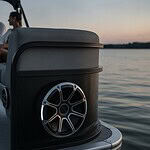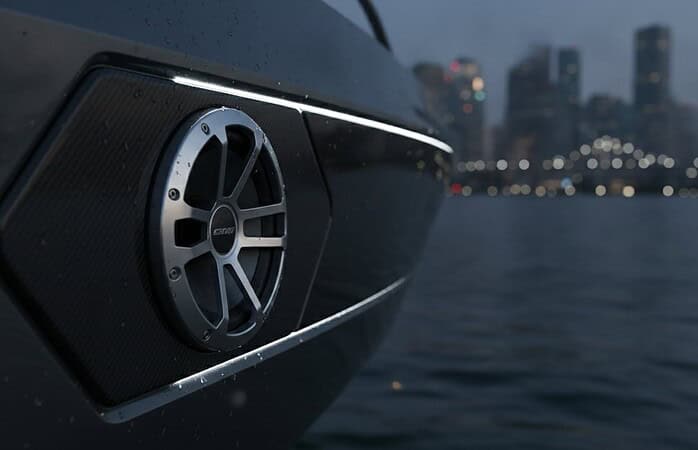
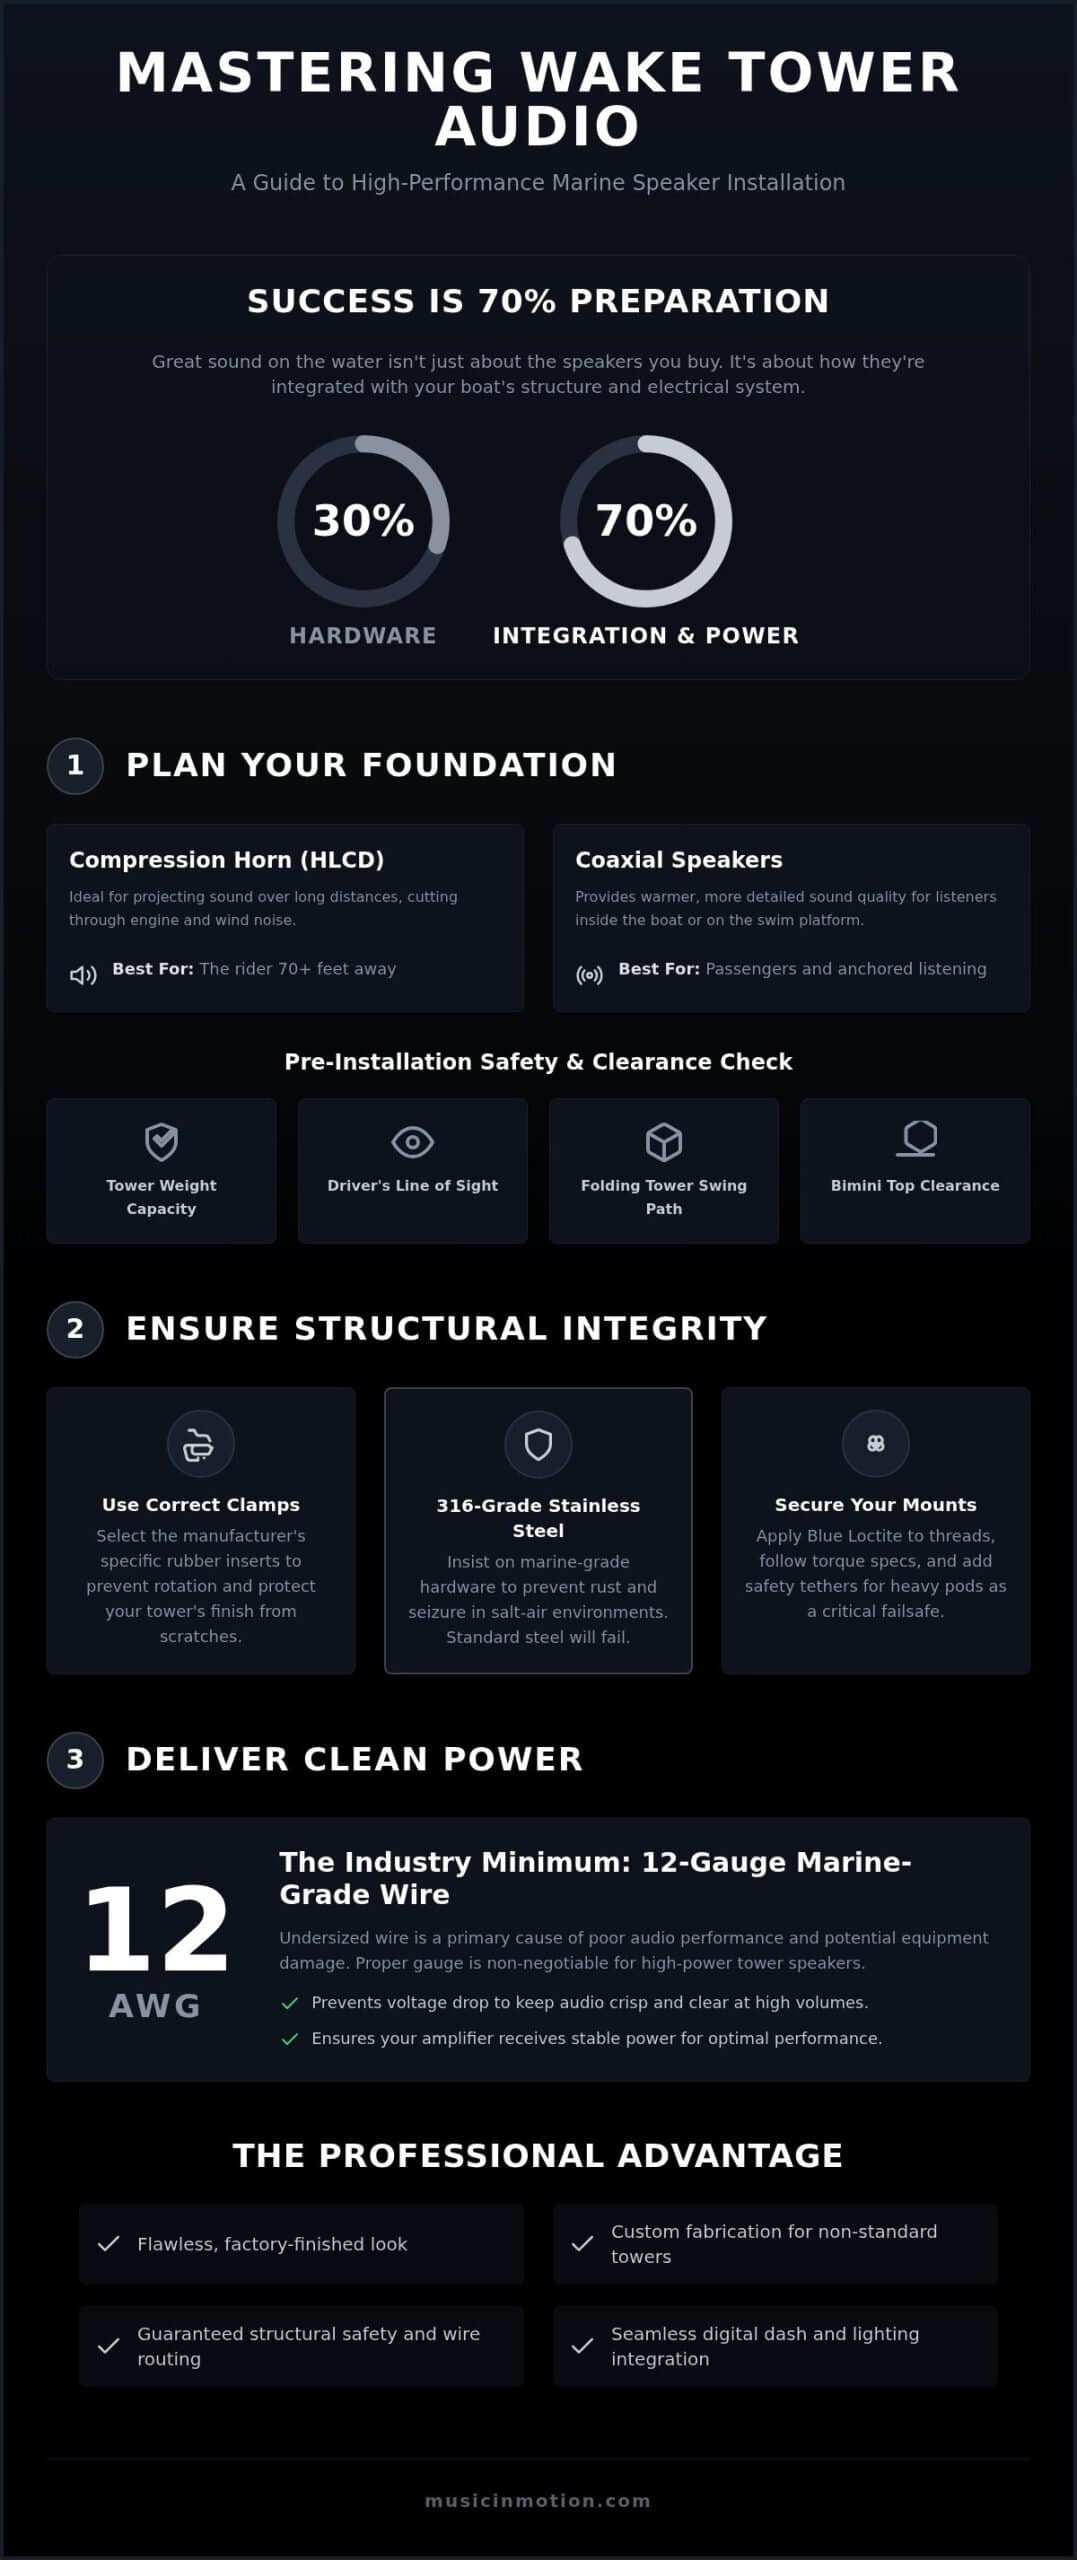
Great wake tower audio is actually 30% hardware and 70% structural integration and power management. We know the feeling of standing on the swim platform with a drill in hand, staring at a pristine tower and wondering if you’re about to make a very expensive mistake. It’s a common stress point for any boat owner who wants better sound but fears the permanent nature of the job. To help you move forward with confidence, we’ve compiled these essential wake tower speaker installation tips to ensure your new setup looks as good as it sounds.
Whether you’re mounting the latest 10-inch JL Audio towers or a set of Rockford Fosgate M2WLs with integrated LED lighting, the goal is a clean, factory-look result that survives the salt and sun. We’ll show you how to master the art of routing marine-grade wires through narrow tubing and selecting the correct power requirements to avoid clipping. By the end of this 2026 guide, you’ll have the specialized knowledge to create a durable, high-performance audio experience that cuts through the engine roar and lets the whole lake hear your playlist.
Key Takeaways
- Learn how to choose between coaxial and compression horn speakers to ensure your music projects clearly over engine noise and wind.
- Discover essential wake tower speaker installation tips for drilling and routing wires through narrow tubing without compromising your boat’s structural integrity.
- Understand why 12-gauge marine-grade wire is the industry minimum to prevent voltage drop and keep your audio crisp at high volumes.
- Master the use of specific clamp sizes and rubber inserts to achieve a secure mount that protects your tower from vibration and scratches.
- Explore how custom fabrication and digital dash integration can provide a seamless, factory-finished look for any non-standard tower setup.
Planning Your Wake Tower Audio Setup
Planning is the most critical stage of any marine audio project. We’ve seen many boaters rush into buying hardware only to realize their tower cannot support the weight or their bimini top blocks the sound. A successful install starts with a tape measure and a clear understanding of how you use your boat. These initial wake tower speaker installation tips focus on the structural and acoustic foundation of your system to ensure your investment lasts for years on the water.
First, we assess the tower’s capacity. Modern towers are robust, but adding multiple 8-inch or 10-inch pods adds significant mass. For example, a pair of premium 10-inch speakers can weigh nearly 30 pounds. When you factor in the leverage created by the tower’s height, that weight puts extra stress on the mounting feet and the fiberglass hull. We always look for signs of existing stress cracks before adding more load. If your boat has a lightweight or older tower, we might recommend smaller, high-efficiency pods to keep the center of gravity low and the structural integrity high.
Projection vs. Sound Quality: Choosing the Right Driver
You need to decide who the music is for. If your goal is to provide a soundtrack for the rider 70 feet behind the boat, compression horn speakers (HLCDs) are mandatory. These drivers use a specialized horn to “throw” sound over engine noise and wind. However, if you spend more time anchored or on the swim platform, high-quality coaxial speakers, like the 2026 Kenwood Excelon XM65TBL, offer a warmer, more natural sound for close-range listening. We often design systems that mix both types, creating a balanced soundstage that works for the surfer and the passengers alike. We prioritize the finished result over the mere transaction of goods, which means helping you find the right balance for your specific lifestyle.
Measuring for Clearance and Safety
Location is about more than just aesthetics; it’s about safety and functionality. We check the “swing” path for folding towers to ensure the speakers won’t hit the deck or the windshield when the tower is lowered for storage. You also need to verify that the pods don’t hang low enough to obstruct the driver’s peripheral vision or create a head-strike hazard for passengers walking through the cockpit. Finally, we always measure the bimini top clearance. If your speakers sit above the canvas, you will lose a significant portion of your volume to the fabric. If you have a non-standard tower, we use custom fabrication to create mounting points that maintain your line of sight and clear your sunshade perfectly.
Physical Mounting and Structural Integrity
Once you have a solid plan, the physical installation begins. This is where the “measure twice, cut once” philosophy becomes reality. A wake tower speaker is a heavy object subjected to high-speed wind, pounding waves, and constant engine vibration. If the mount fails, you aren’t just losing a speaker; you’re creating a safety hazard for everyone on board. Our wake tower speaker installation tips for physical mounting focus on creating a rock-solid connection that respects the boat’s finish and your passengers’ safety.
The first step is verifying your clamp size. Most towers use standard tubing sizes, but assuming “one size fits all” is a mistake. We always use the specific rubber inserts provided by the manufacturer. These inserts serve two purposes: they provide the grip necessary to prevent the speaker from rotating and they protect the powder-coated or polished finish of your tower from unsightly scratches. We only use 316-grade stainless steel hardware. In a salt-air environment, standard steel will rust within weeks, leading to seized bolts and orange streaks on your boat. When tightening, follow the manufacturer’s torque specs. Over-tightening can crush the tower tubing or strip the threads, while under-tightening leads to “drooping” pods mid-session.
Securing the Brackets
Vibration is the enemy of a secure mount. We recommend using Blue Loctite on all mounting threads. This thread-locker prevents bolts from backing out due to harmonic engine vibration but still allows for removal later if you upgrade. During this stage, we align dual-speaker setups for symmetrical projection. If one pod is angled slightly higher than the other, the soundstage will feel “tilted” to the passengers. Before you finish, give the tower a firm shake. If you hear a rattle now, it will be a deafening distraction once you’re on the water.
Safety Tethers and Secondary Retention
Heavy pods, especially the larger 10-inch models, should always have a safety tether. These small stainless steel cables act as a failsafe if the primary bracket ever fails. We hide these tethers behind the mounting bracket or inside the tower tubing whenever possible to maintain a clean aesthetic. After your first run of the season, we suggest a quick inspection. Look for stress cracks around the mounting points or any signs of movement. If you’re unsure about the structural limits of your specific setup, our team at Music In Motion can assist with specialized hardware and custom integration to keep your system secure.
Advanced Wire Routing Through Tower Tubing
While some basic DIY guides suggest running wires externally with zip ties, we believe a professional marine installation requires internal routing. Wires left on the outside of a tower are prone to UV damage, snagging, and salt spray corrosion. Beyond the durability concerns, external wiring simply looks unfinished. These wake tower speaker installation tips focus on the “hidden” part of the job: getting your signal from the deck to the pods through the hollow channels of your tower tubing.
The process requires patience and the right tools. We prioritize the finished result over a quick fix, which means taking the time to route every inch of copper where it can’t be seen. This not only protects the electrical integrity of your system but also preserves the clean, sleek lines of your vessel. If your tower has complex curves or internal gussets, the routing becomes more difficult, but the following techniques make it manageable for a dedicated boat owner.
Drilling into the Tower
Before you pick up the drill, confirm your hole placement. We avoid drilling near structural welds or high-stress joints where the tubing flexes most. Use a cobalt drill bit for stainless steel towers or a high-speed steel bit for aluminum. Start with a small pilot hole to prevent the bit from walking across your polished finish. Once you reach the final diameter, you must deburr the hole. We use a small round file or a specialized deburring tool to smooth the internal edges. If you leave a sharp burr inside the tube, the constant vibration of the boat will eventually slice through the wire insulation and cause a short circuit.
The ‘Fish and Pull’ Technique
Narrow tubing and tight corners often stop a standard metal fish tape in its tracks. For these difficult runs, we use a shop vac and a lightweight string with a small cotton ball tied to the end. By placing the vacuum at the exit hole and feeding the string through the entry point, you can “suck” a pilot line through the tower in seconds. We then use this string to pull a heavier fish tape or the wires themselves. If you are pulling multiple pairs for audio and integrated RGB LED lighting, use a marine-grade wire lubricant to reduce friction and prevent the jackets from binding or tearing. A chase wire is a spare length of high-strength string left inside the tower during the initial pull to serve as a guide for adding future electronics without the need to start the fishing process over.
Once the wires are through, don’t leave the entry points exposed to the elements. We use UV-resistant rubber grommets to line the holes. This provides a soft cushion for the wire and creates a barrier against water intrusion. For a truly professional finish, a small bead of marine-grade silicone sealant around the grommet ensures that no moisture can collect inside the tower tubing, preventing internal corrosion that could weaken the structure over time.
Powering and Tuning for Open Water Performance
You have secured the mounts and hidden the wires, but the job isn’t finished until the system is energized and calibrated. Tower speakers operate in a much harsher acoustic environment than your cabin speakers. They have to compete with 25-mph wind noise, engine roar, and the splashing of the wake. If you underpower these drivers, they will clip and eventually fail. These wake tower speaker installation tips focus on the electrical backbone and fine-tuning required to make your music sound like a live concert even at the end of a tow rope.
We always recommend selecting a marine amplifier with plenty of “headroom.” This means the amp should be capable of delivering more power than the speakers are rated for. When an amplifier has headroom, it can handle peak musical moments without distorting or overheating. To feed that amp, you need the right conduit. Because the wire run from the battery to the top of the tower is often 20 feet or more, voltage drop is a real threat. We use 12-gauge tinned copper wire as our absolute minimum. Standard 16-gauge wire simply cannot move enough current over that distance, which leads to weak bass and thin, tinny highs.
Amplifier Placement and Cooling
High-power amplifiers generate significant heat. We avoid mounting them in small, sealed compartments without airflow. Instead, we look for dry, ventilated lockers and often use spacers to allow air to circulate behind the amp’s heatsink. To prevent electrical hum and interference, we keep our ground wires as short as possible, usually under 18 inches, and bonded to a solid ground block. For safety, we ditch standard automotive fuses in favor of marine-grade circuit breakers. If a surge occurs on the water, you can reset a breaker in seconds rather than hunting for a spare fuse in the dark.
Professional Tuning for the ‘Rider Zone’
Tuning is where we deliver the finished result. We set the high-pass crossovers to ensure the tower speakers aren’t trying to reproduce deep sub-bass, which they aren’t designed for. This protects the drivers and allows them to play much louder. We also focus on phase alignment. If your tower speakers are out of phase with your cabin speakers, the sound waves will cancel each other out, leaving you with “dead spots” in the boat. Using a Digital Signal Processor (DSP) allows us to adjust the timing of the sound so that it reaches the rider and the passengers at the perfect moment. If you want a system that sounds crystal clear at any speed, our experts at Music In Motion can professionally tune your setup for maximum impact.
Finally, consider your power storage. A high-output audio system can drain a standard starting battery in under an hour at the sandbar. We frequently install a dedicated deep-cycle marine battery and a dual-bank charging system. This ensures you have plenty of juice for the music while keeping your starting battery fresh so you’re never stranded after a long day of riding.
The Benefits of Professional Marine Installation
While many boat owners look for wake tower speaker installation tips to tackle the project themselves, there is a distinct difference between a functional setup and a professional-grade integration. We focus on delivering a finished result that looks like it came straight from the manufacturer. Professional installation isn’t just about turning screws. It’s about solving the complex challenges of modern marine electronics and ensuring that every component works in harmony with your vessel’s existing infrastructure.
One of the biggest hurdles in modern boats is integrating new gear with factory digital dash systems or steering wheel controls. We use specialized interfaces to ensure you can still skip tracks or adjust volume from the helm without reaching for a separate remote. This seamless connection preserves the ergonomics of your cockpit. We also implement advanced battery management. High-performance tower systems draw significant current. We often install dual-charging systems and voltage-sensing relays that prioritize your starting battery. This setup ensures you have hours of music at the sandbar but always have the cranking power to head home at the end of the day.
Beyond Bolt-On: Custom Fabrication
Not every boat features a standard circular tower. Many modern wake boats utilize elliptical, boxed, or “v-wing” towers that simply won’t accept off-the-shelf clamps. Our team uses custom car audio fabrication techniques to create one-off mounting plates and adapters. These solutions fit your tower’s unique geometry perfectly while maintaining structural safety. We also specialize in integrated LED lighting. We can wire your speaker pods to sync with your boat’s existing RGB accent lighting, creating a unified visual experience that looks as good as it sounds.
Ensuring System Longevity
The marine environment is brutal on electrical connections. While a DIY install might rely on basic crimp connectors, we professionally solder and triple-seal every joint with marine-grade heat shrink. This prevents the “green crust” of corrosion caused by salt air and humidity. Our process includes comprehensive real-world testing. We simulate lake conditions to verify that no part of the system rattles or cuts out under heavy vibration. Choosing the right gear is the first step, and our premium marine audio systems guide can help you select components built to survive these elements. By choosing a professional partner, you gain the peace of mind that comes with a full warranty and a system designed for long-term serviceability. We treat every boat as if it were our own, focusing on the safety and functionality that keeps you on the water longer.
Elevate Your On-Water Audio Experience
A high-performance audio system transforms a standard day on the lake into a concert-level event. By following these wake tower speaker installation tips, you’ve learned that success depends on more than just high-end pods; it requires a focus on structural stability, hidden wire routing, and precision tuning. Whether you’re navigating the complexities of internal tubing or calculating the perfect amplifier headroom, every detail contributes to a reliable and powerful result that survives the harsh marine environment.
If you want to bypass the stress of drilling into your tower or managing complex power requirements, we’re ready to partner with you. At Music In Motion, we specialize in custom marine fabrication and bring decades of high-performance audio experience to every project. Our team offers national-level expertise in complex vehicle electronics, ensuring your system integrates perfectly with your boat’s existing digital systems. Get a Professional Marine Audio Consultation from Music In Motion today to start building your ultimate soundstage. We look forward to helping you create a durable, high-impact system that makes every moment behind the wheel feel like a celebration.
Frequently Asked Questions
Can I use standard car speakers on my wake tower?
No, you shouldn’t use standard car speakers for your tower pods. Car speakers aren’t built to handle constant UV exposure, salt spray, or high humidity. Within a single season, the cones will degrade and the internal components will corrode. Marine-rated speakers feature tinned leads and specialized materials designed to survive the harsh open-water environment while maintaining sound quality.
What gauge wire should I use for wake tower speakers?
We recommend using 12-gauge tinned copper wire as the absolute minimum for tower runs. Because the distance from your amplifier to the top of the tower is often quite long, thinner wire causes a significant voltage drop. Following these wake tower speaker installation tips ensures your drivers receive the full power they need to produce crisp, distortion-free audio at high volumes.
Do I need a separate battery for my tower speakers?
A separate deep-cycle battery is highly recommended for any high-output marine audio system. Tower speakers and their dedicated amplifiers draw a lot of current, especially when the engine is off at a sandbar. A dedicated house battery ensures you can enjoy your music for hours without worrying about whether the boat will start when it’s time to head home.
How do I prevent my tower speakers from draining the boat battery?
The best way to prevent battery drain is to install a voltage-sensing relay or a dual-battery isolator switch. These devices automatically separate your starting battery from your house battery when the engine isn’t running. This setup protects your cranking power while allowing the audio system to pull only from the secondary bank, giving you total peace of mind on the water.
Is it safe to drill holes in my wakeboard tower for wiring?
Yes, it’s safe to drill holes as long as you stay away from structural welds and high-stress joints. Strategic hole placement is one of the most vital wake tower speaker installation tips we provide. We always deburr the hole edges and use rubber grommets with marine-grade sealant to prevent water from entering the tube and causing internal corrosion over time.
How many tower speakers do I really need for a good experience?
Most boaters find that a single pair of high-quality 8-inch or 10-inch pods provides plenty of volume for the cockpit and the swim platform. If your primary goal is to provide a clear soundtrack for a rider 70 feet behind the boat, we suggest a dual-pair setup. This provides the extra projection needed to cut through wind and engine noise at wakeboarding speeds.
What is the difference between coaxial and horn-loaded tower speakers?
Coaxial speakers are designed for balanced, high-fidelity sound at close to medium ranges. They’re perfect for listening while anchored. Horn-loaded compression drivers (HLCDs) are built for extreme projection. They use a specialized horn to “throw” the sound much further back, making them the superior choice for riders who want to hear every beat while they’re out on the wake.
How do I clean and maintain my wake tower speakers?
Rinse your speaker pods with fresh water after every trip, especially if you boat in saltwater. Use a mild soap and a soft microfiber cloth to remove salt film or water spots, but avoid using high-pressure washers directly on the speaker grilles. We also recommend checking the torque on your mounting clamps twice a season to ensure that engine vibrations haven’t loosened the hardware.